Feature Availability: FREE | PLUS | PRO | PREMIUM
Create stunning, high-converting product landing pages in just a few clicks using AI. The AI-Powered Product Landing Page Builder automatically designs layouts, suggests product descriptions, and optimizes call-to-action elements based on your store’s branding and goals.
Why Is It Important? An AI-powered landing page helps you save time while boosting your marketing performance. By letting AI handle design and optimization, you can focus on promoting your products and increasing sales — ensuring every page is visually appealing, mobile-friendly, and conversion-driven.
Skill Level: Beginner | Advanced | Expert
How long does it take to do? 10 Minutes
Requirements:
Paid Plan
User Account Credentials
Summary:
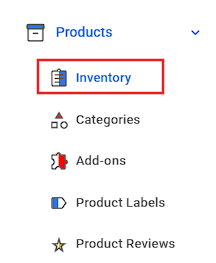
Go to Products and select Inventory.
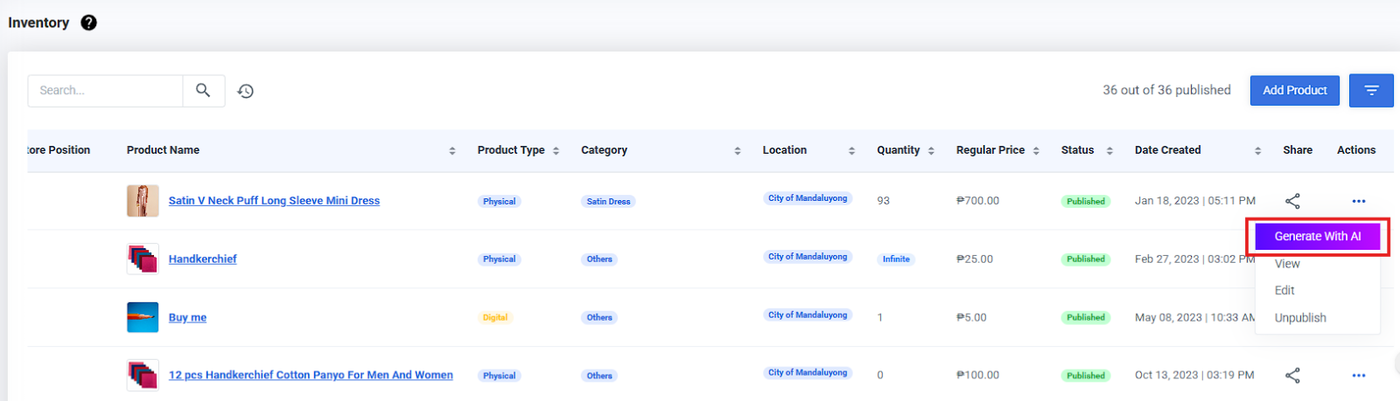
Click the 3 dots under actions, then select 'Generate with AI'.
Type your prompt (instructions) in the chat box.
Select Prompt Builder.
Build Your Sections
Click Save Draft and Publish.
Steps How to Use AI-Powered Product Landing Page Builder
1. Go to Products and select Inventory.
2. Click the 3 dots under actions, then select 'Generate with AI'.
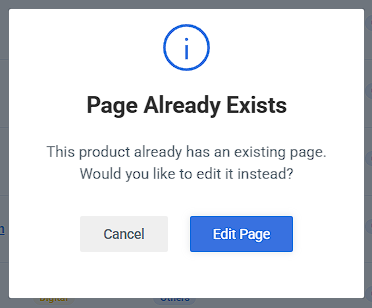
If the product already has an existing landing page, a prompt will appear saying “Page Already Exists.”
You’ll then be given two options:
Edit Page – to open and modify the existing landing page.
Cancel – to exit and return to the product list.
3. Type your prompt (instructions) in the chat box.
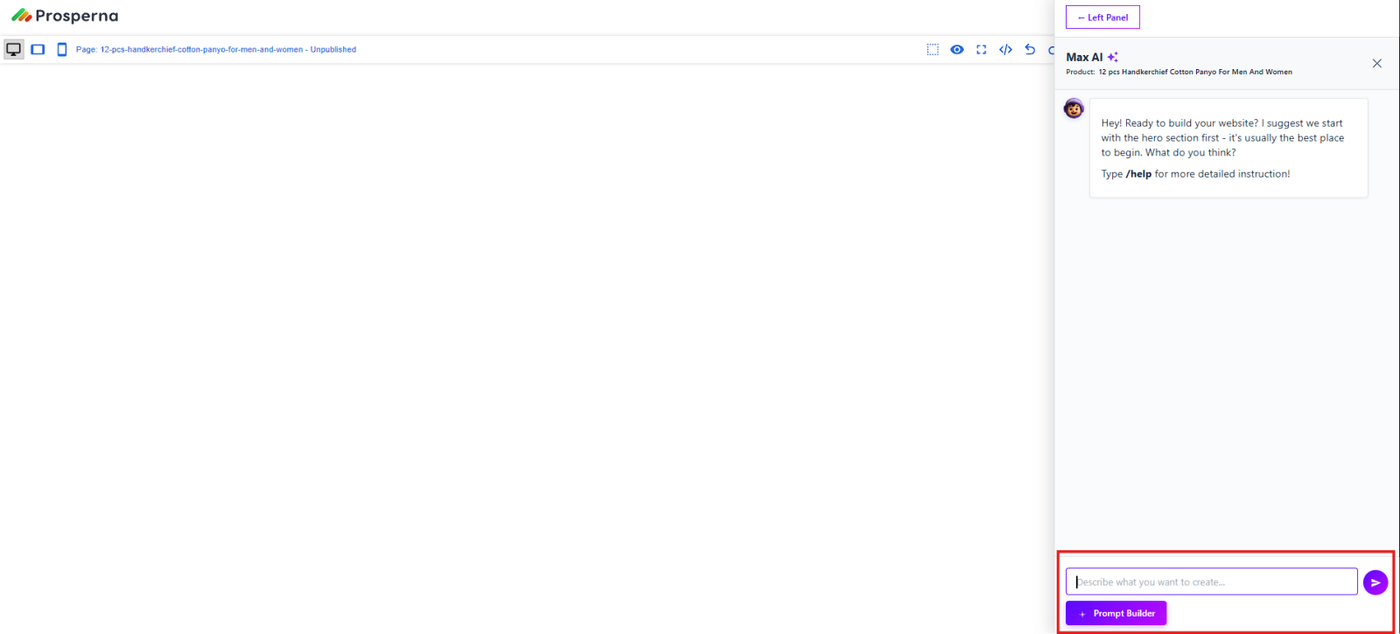
You may also type /help to get detailed guidance from Max AI.

4. Select Prompt Builder.
Prompt Builder:
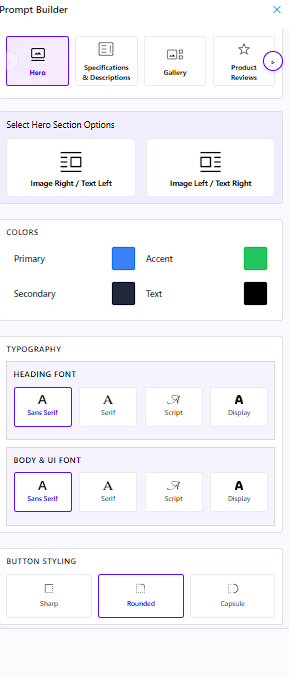
Colors
Click the color square box to select or change your Primary, Accent, Secondary, and Text colors. Choose shades that match your brand identity and maintain good contrast for readability.
Typography
Click on your desired font style to set the Heading and Body/UI fonts — choose from Sans Serif, Script, or Display.
Buttons Styling
Select your preferred button shape by clicking on an option — choose from Sharp, Rounded, or Capsule.
Option to Switch Workspace View
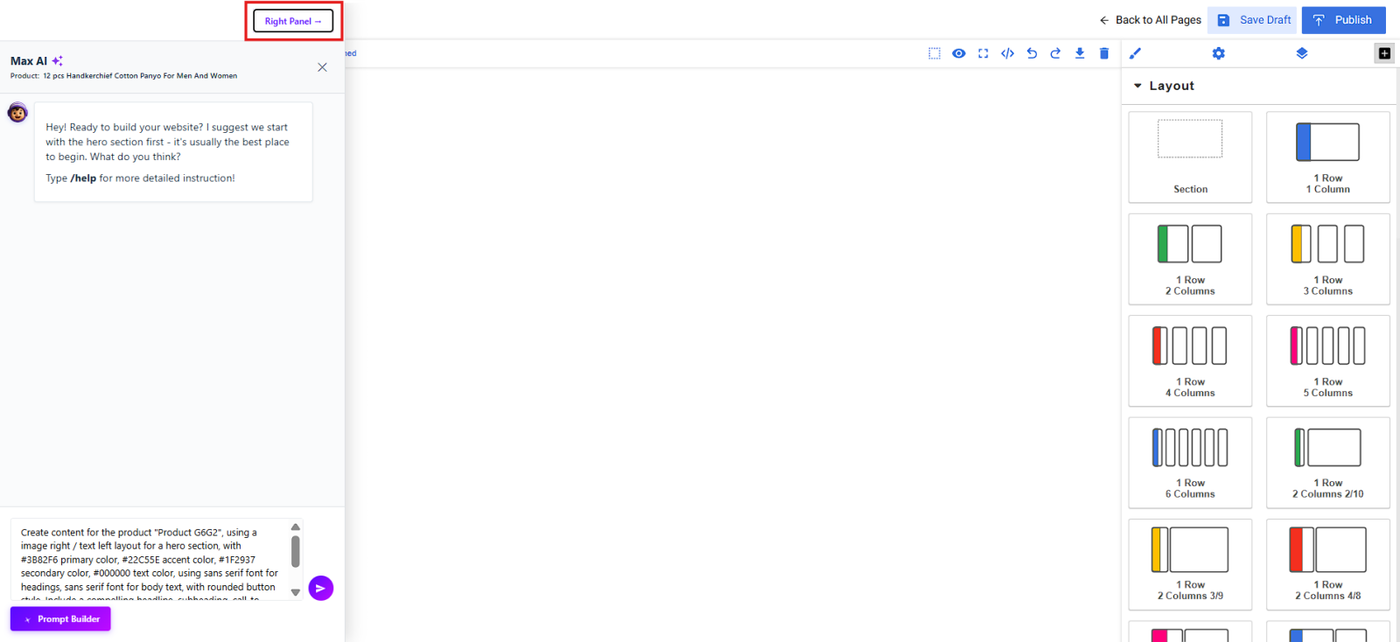
You can also switch between the Left Panel and Right Panel to change your workspace view, allowing you to easily access different tools and editing options while building your landing page.
Click Left Panel to switch to the Right Panel view.
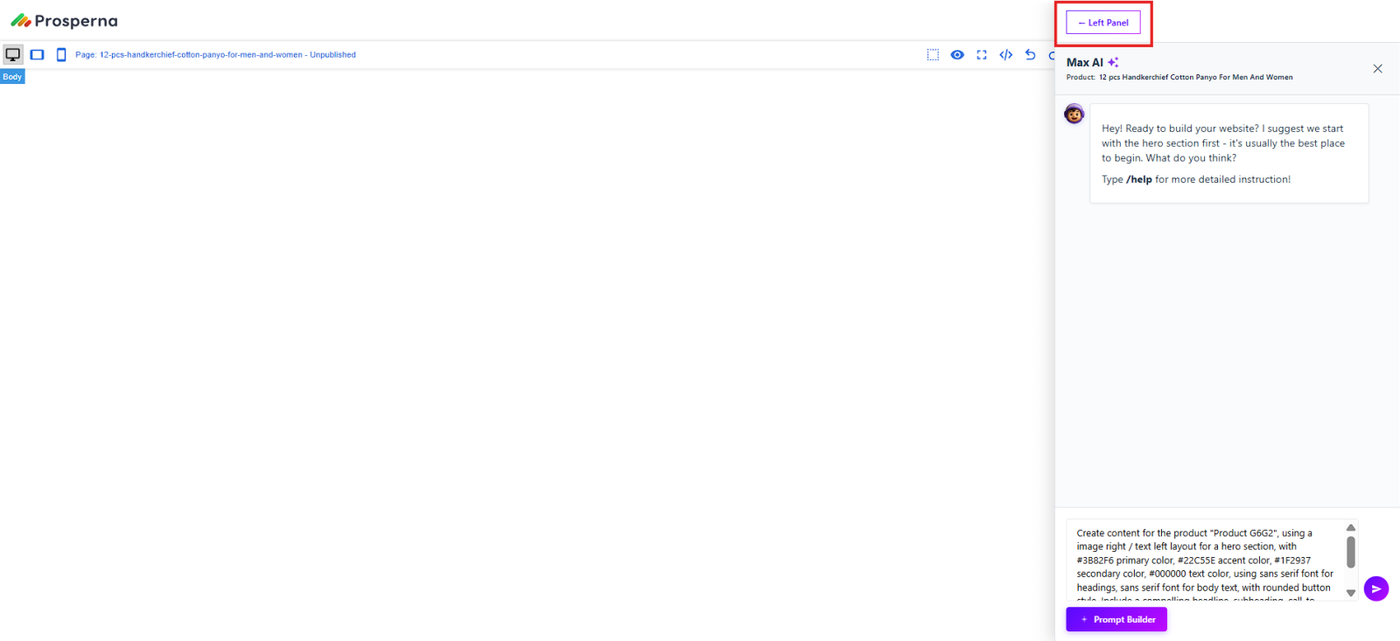
Click Right Panel to switch to the Left Panel view.
5. Build Your Sections.
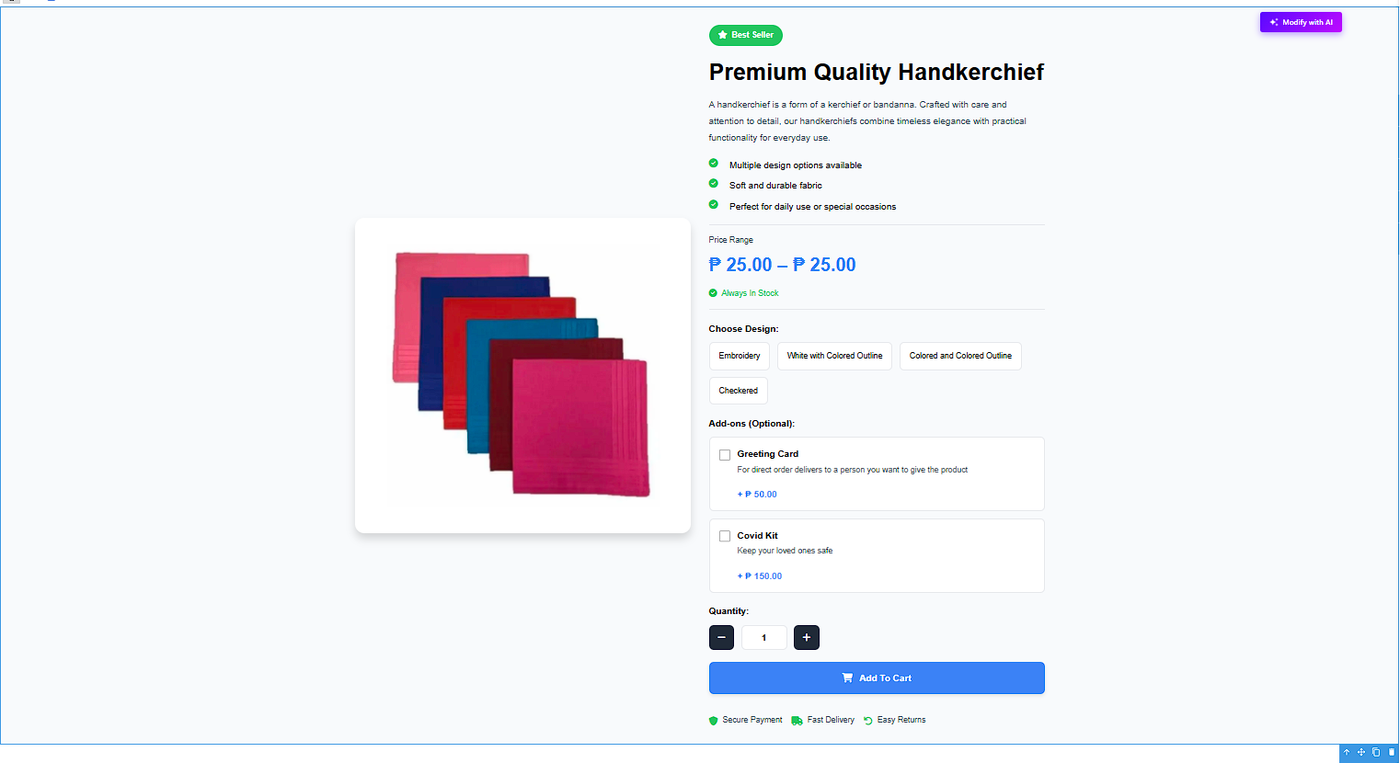
a.) Hero
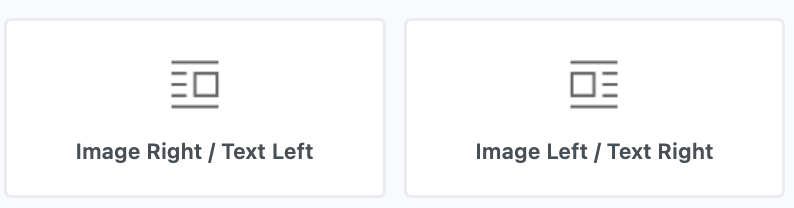
Image Right / Text Left
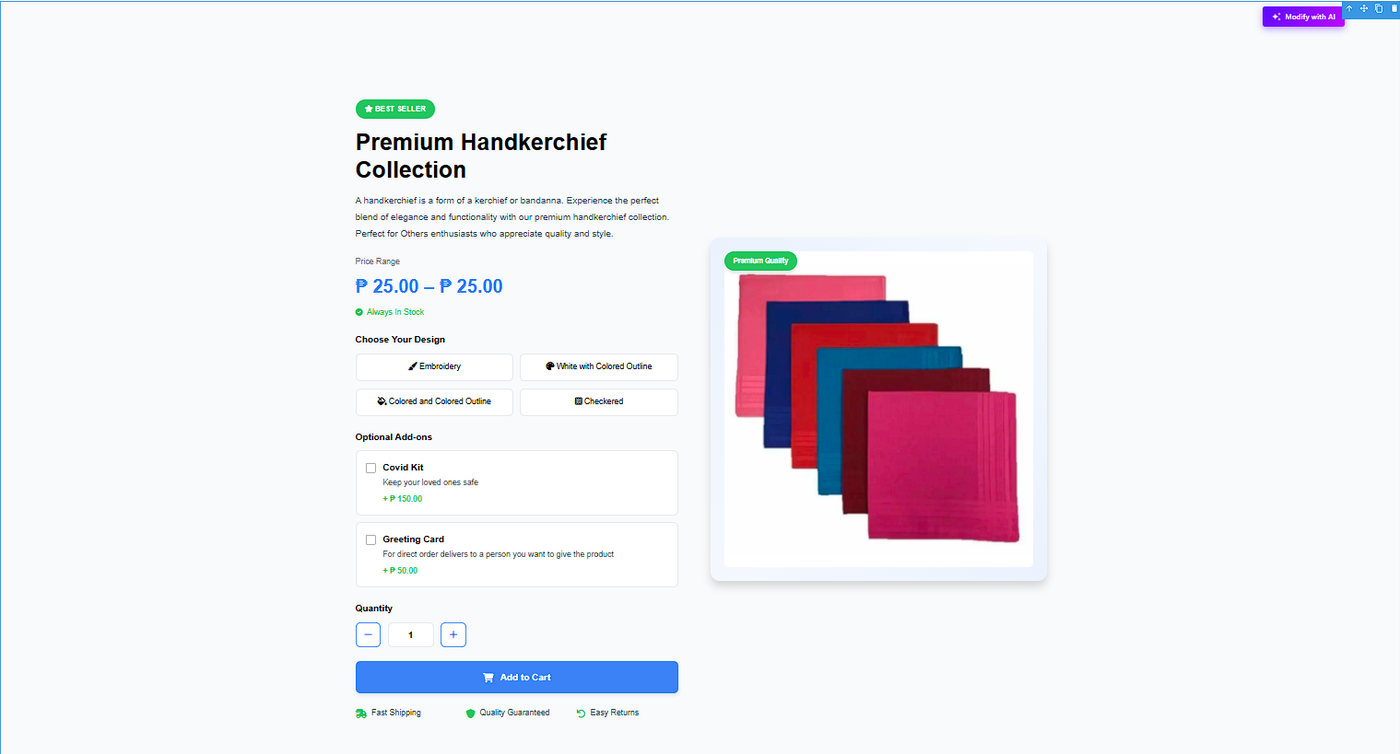
Image Left / Text Right
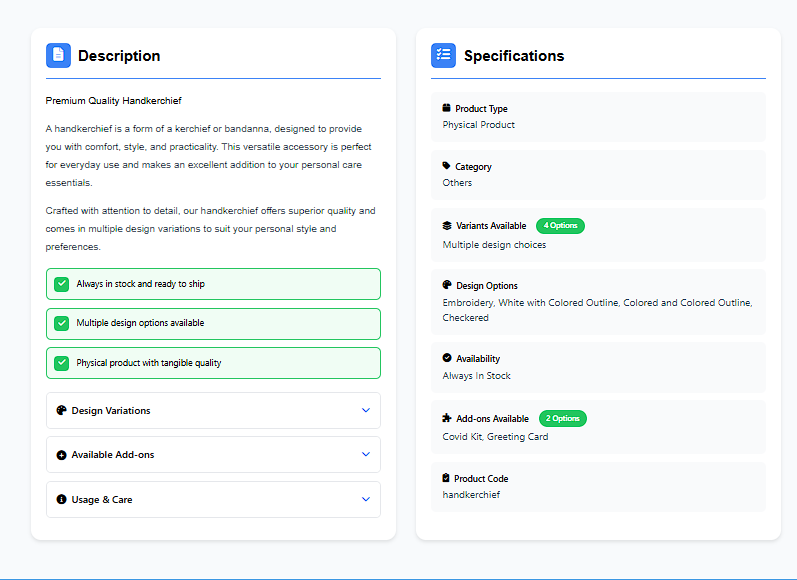
b.) Specifications & Descriptions
Select Specifications & Descriptions Options
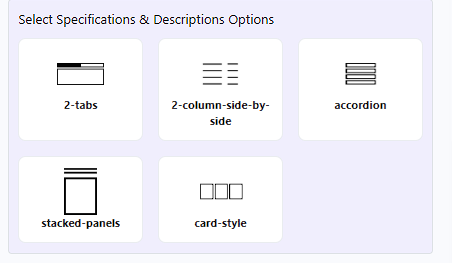
2 tabs
Description View
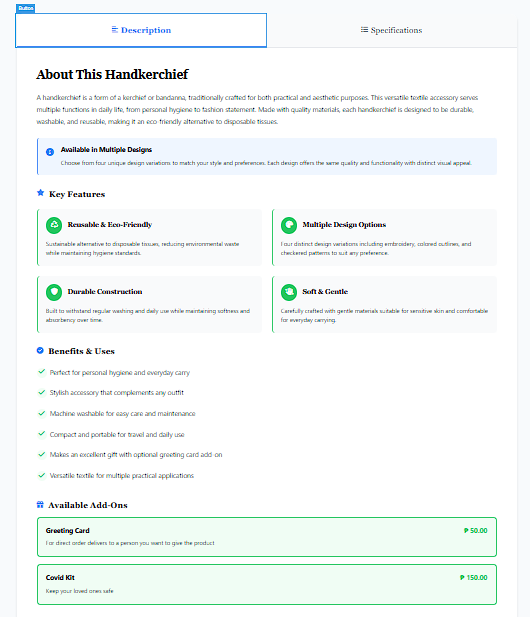
Specifications View
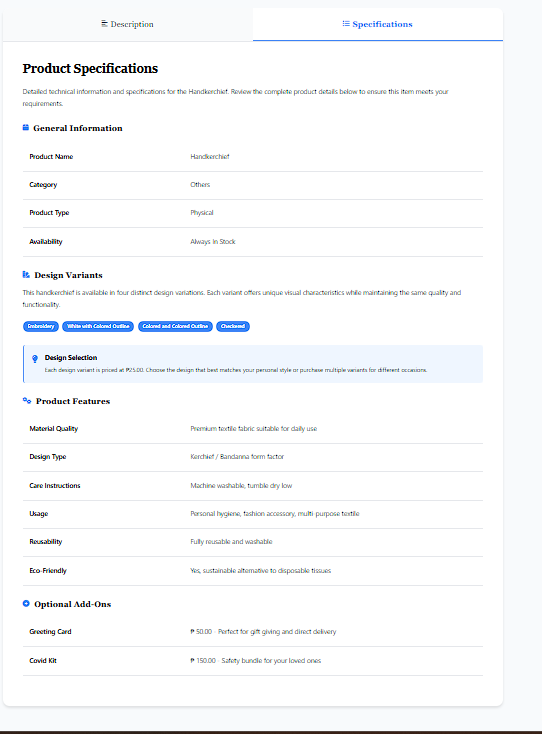
2-columns-side-by-side
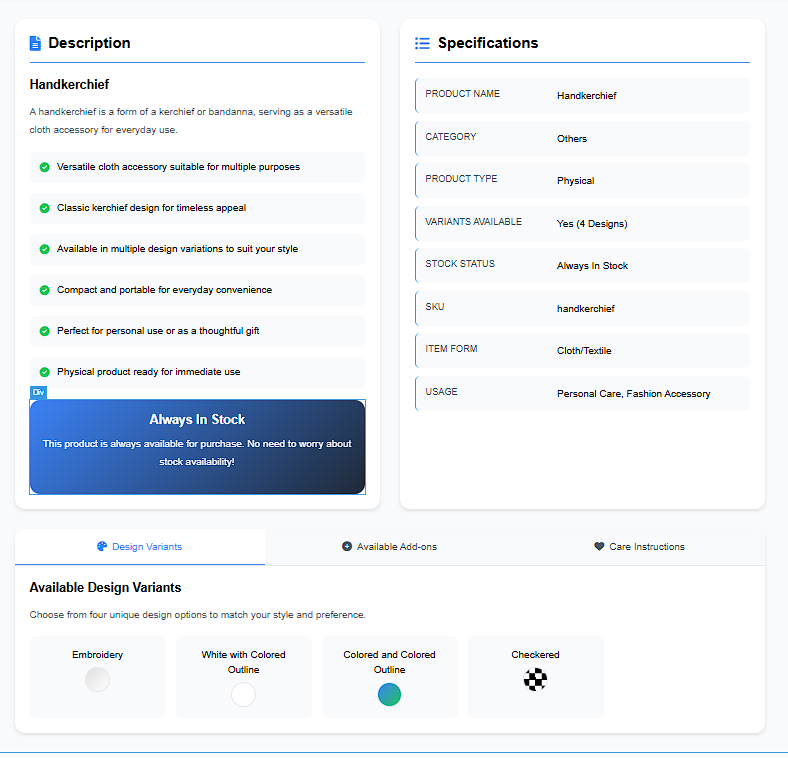
Accordion
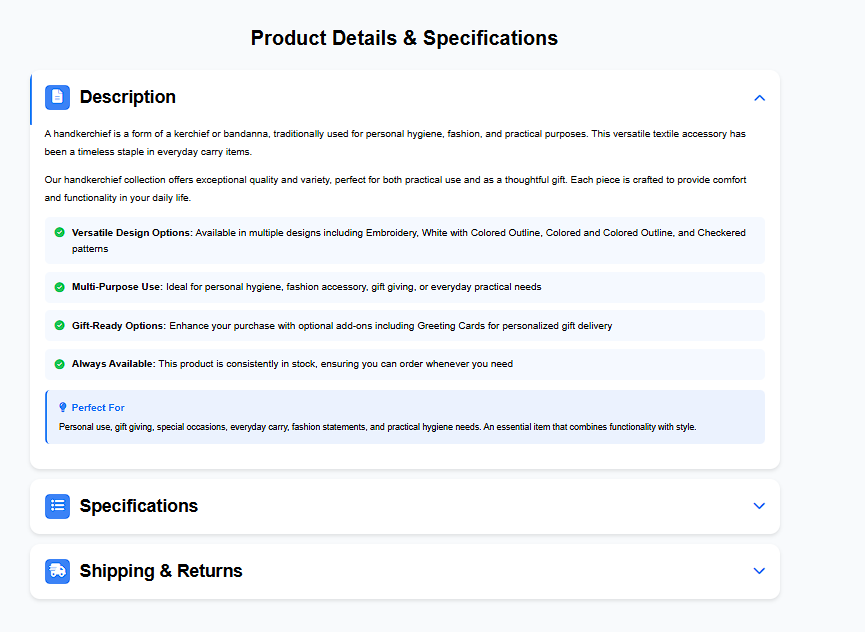
Stacked-panels

Card Style
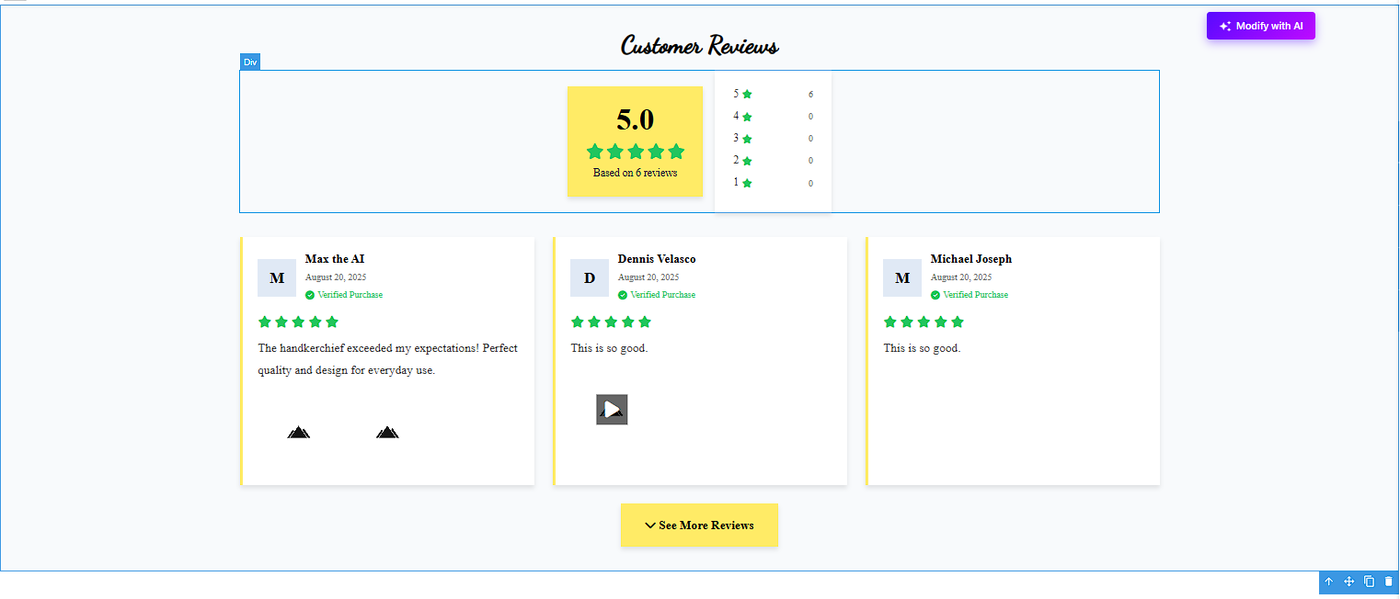
c. ) Product Reviews - You can display depending on how many columns you will decide.
1 Column
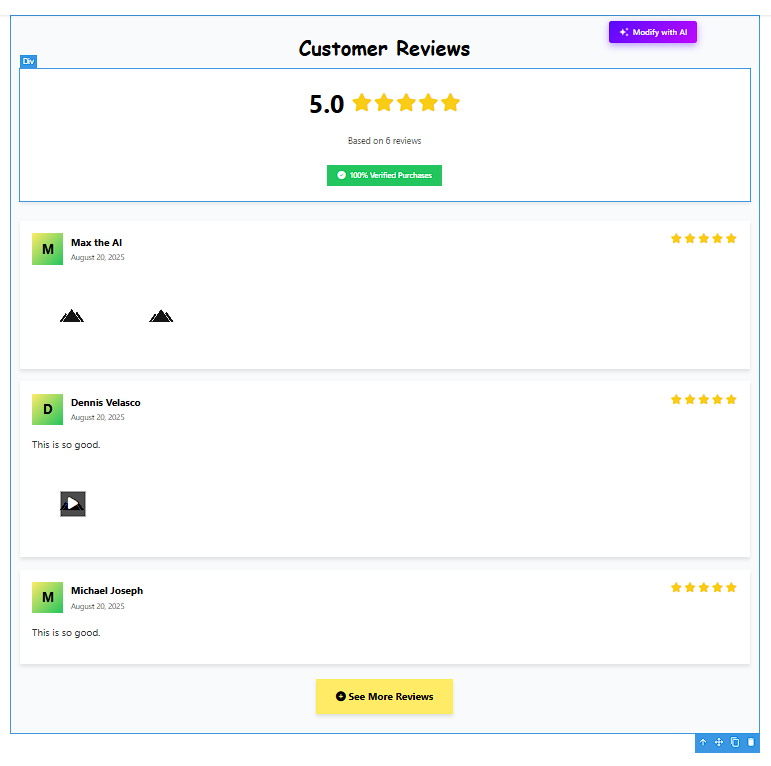
2 Columns
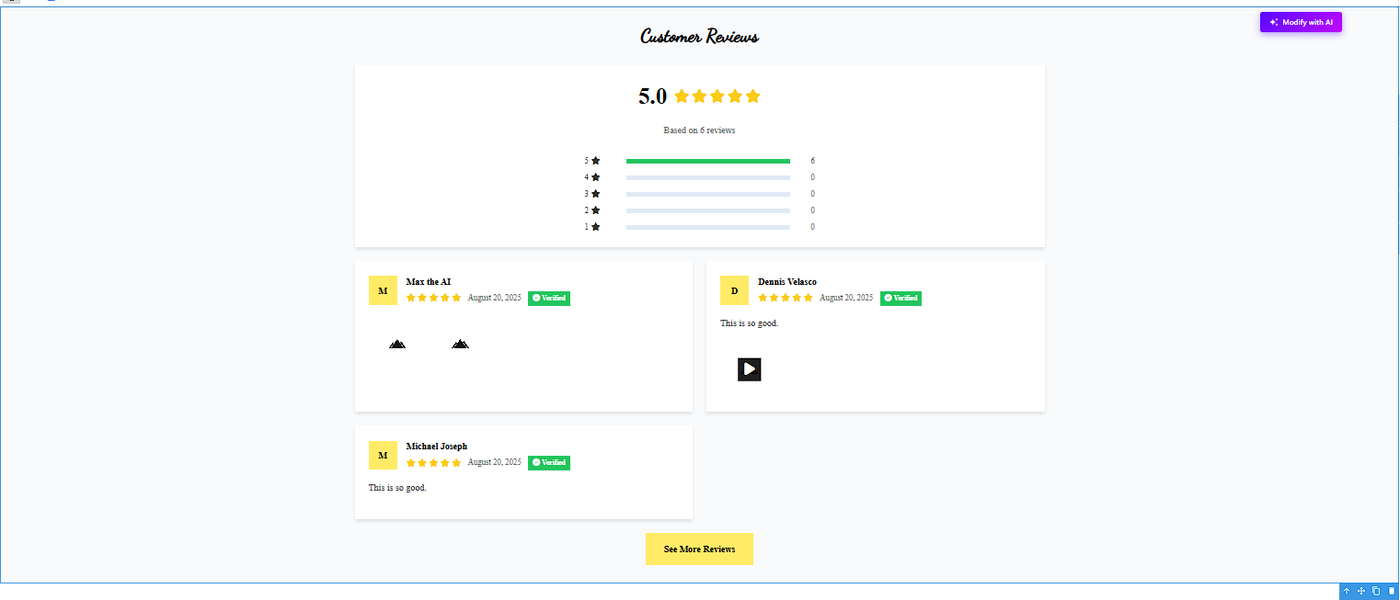
3 Columns
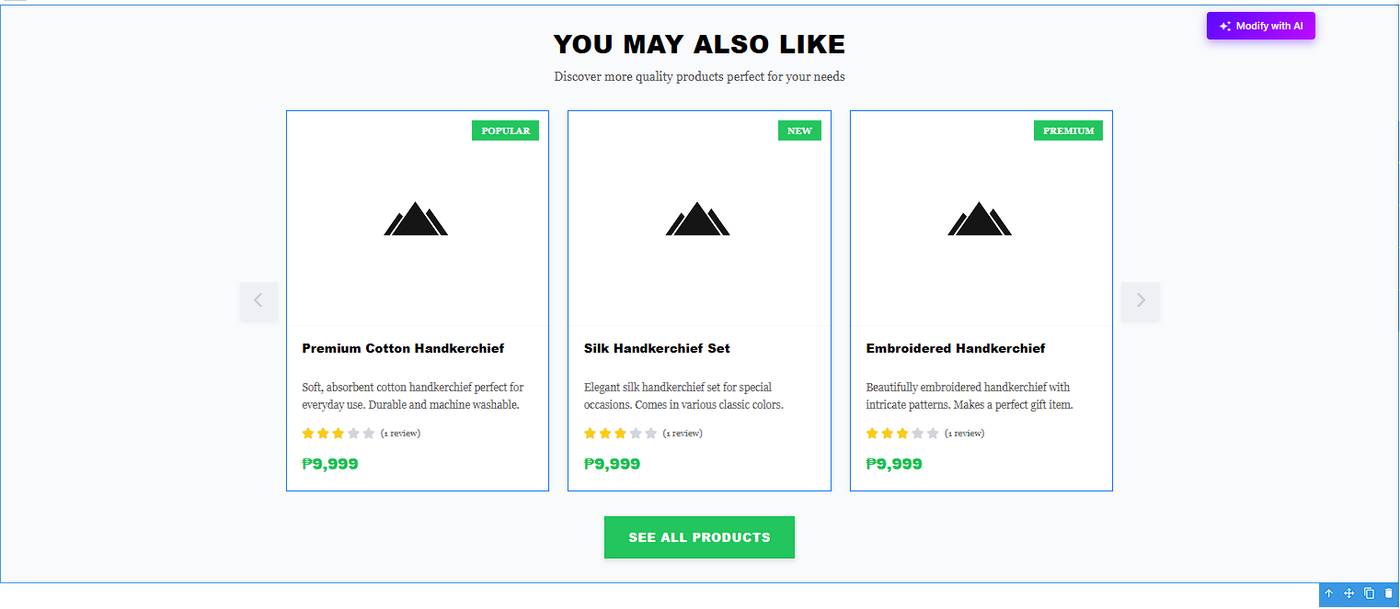
d. ) Related Products
2-column
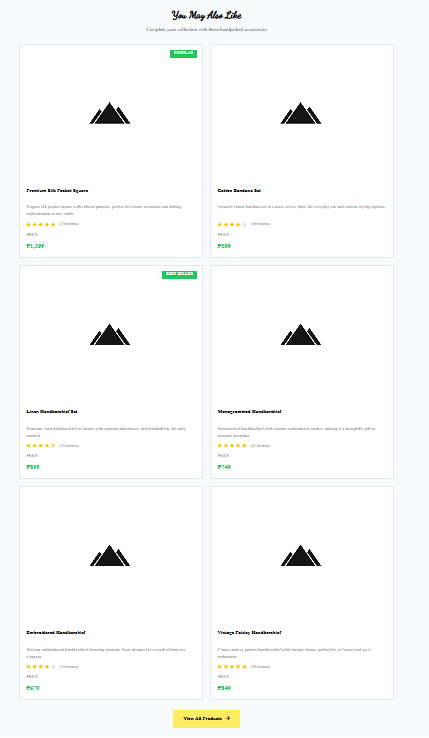
3-column
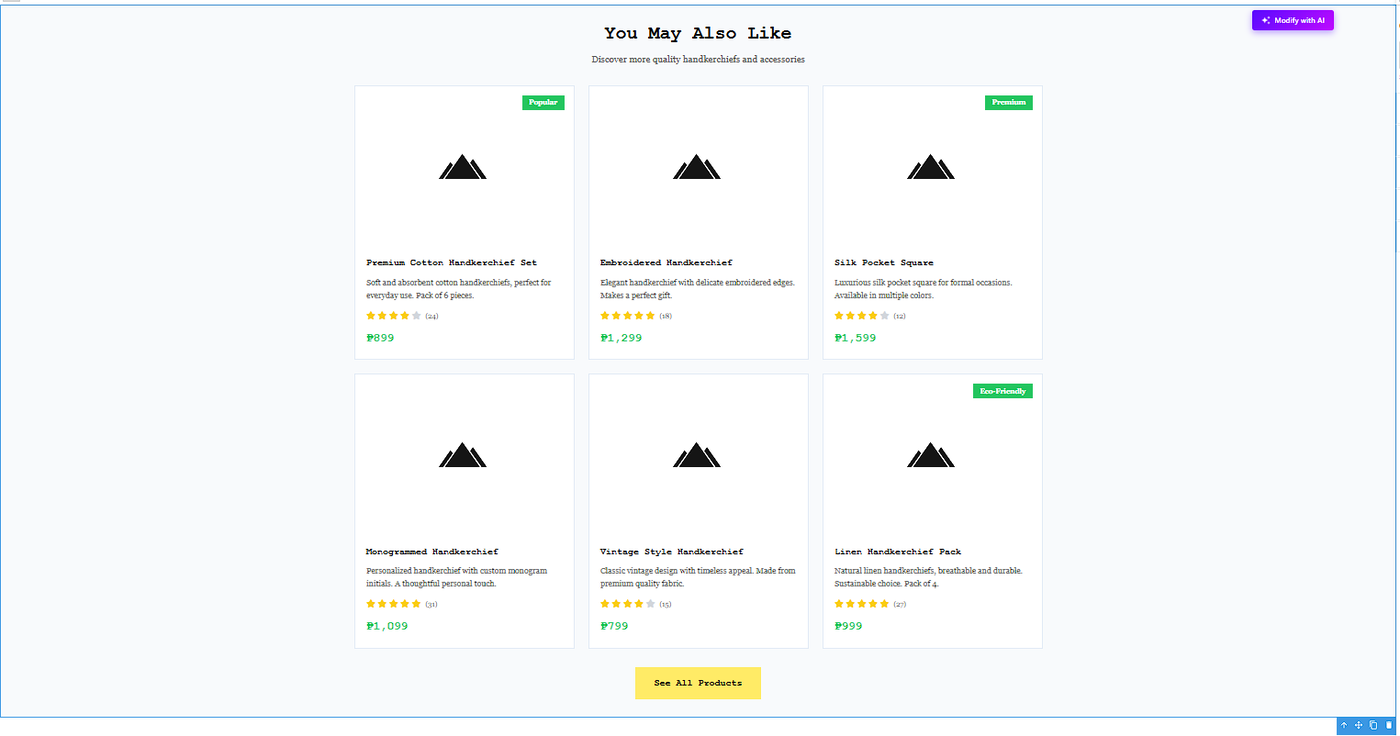
3-column-carousel
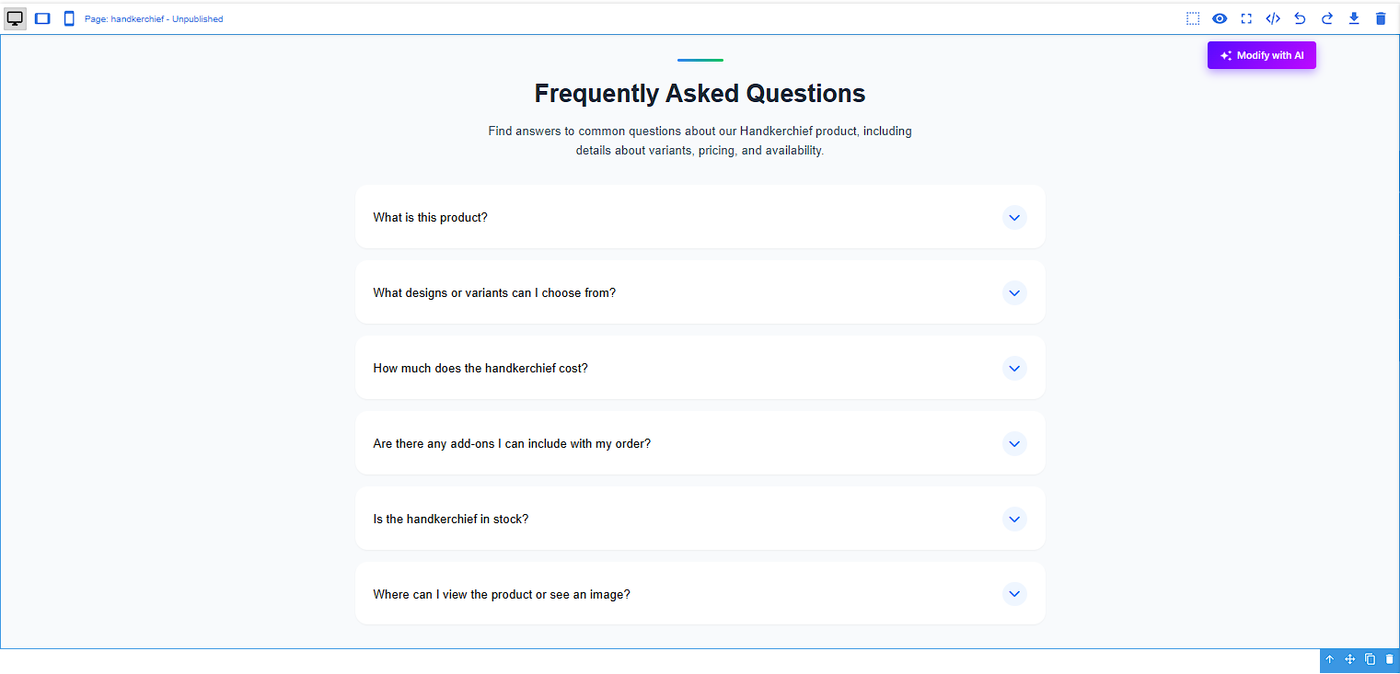
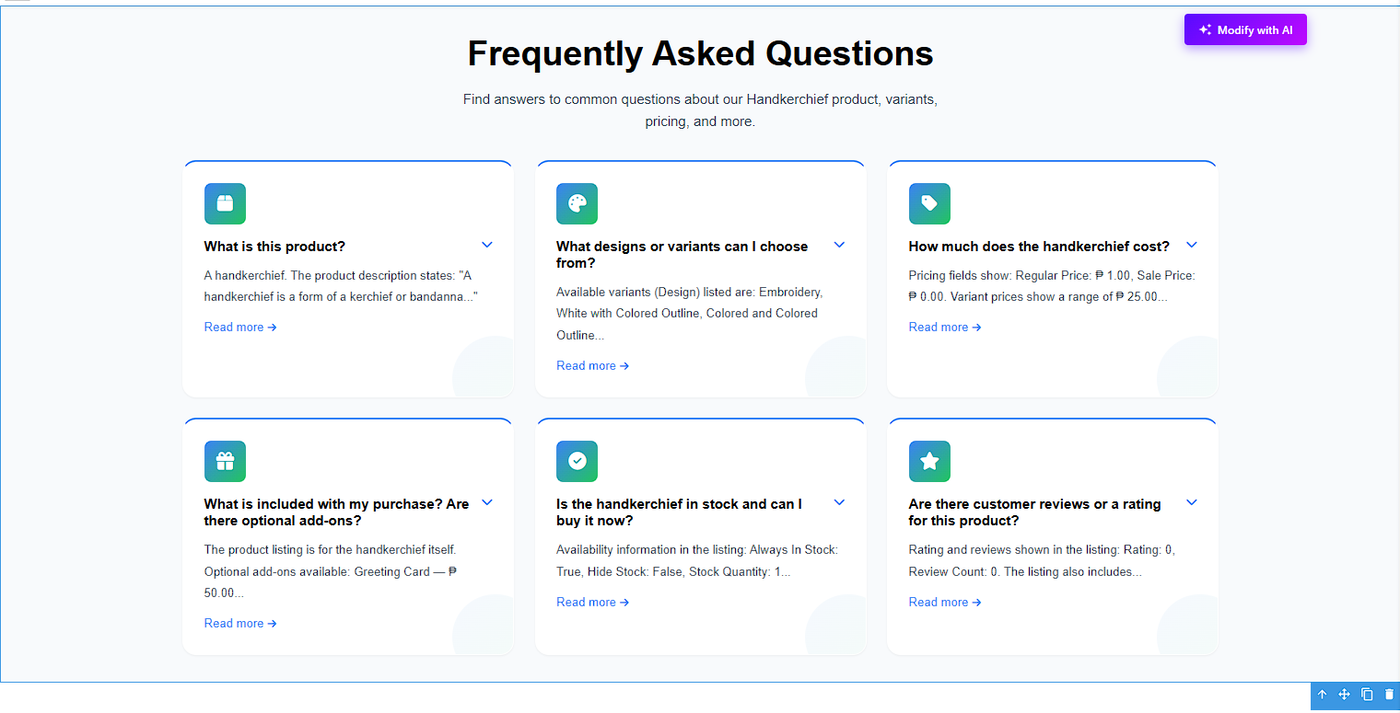
e. ) FAQs
Full-width-accordion
2-column-card
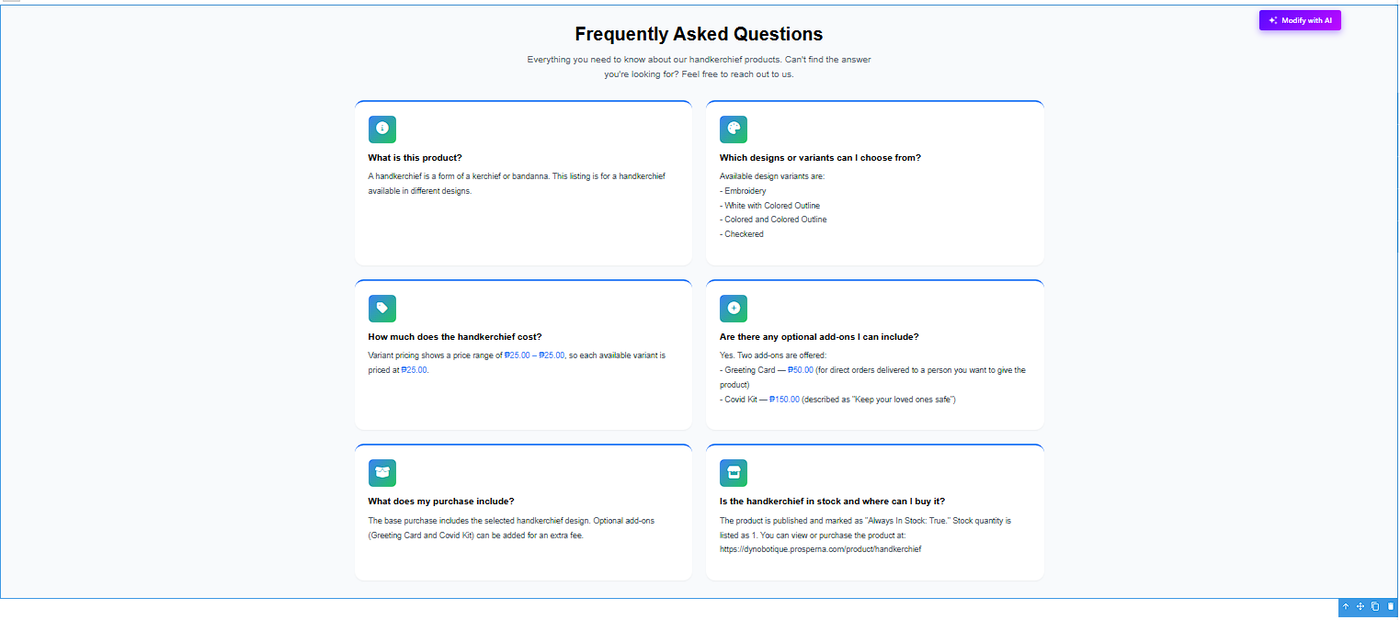
3-column-card
NOTES:
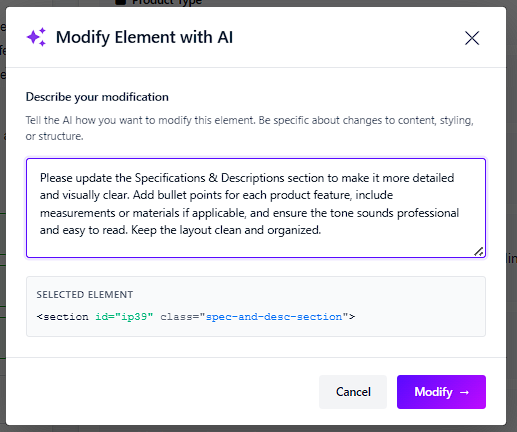
1. You cannot add another Specifications & Descriptions section because one has already been created on this page. To make changes, please select the existing section and click “Modify with AI” instead.
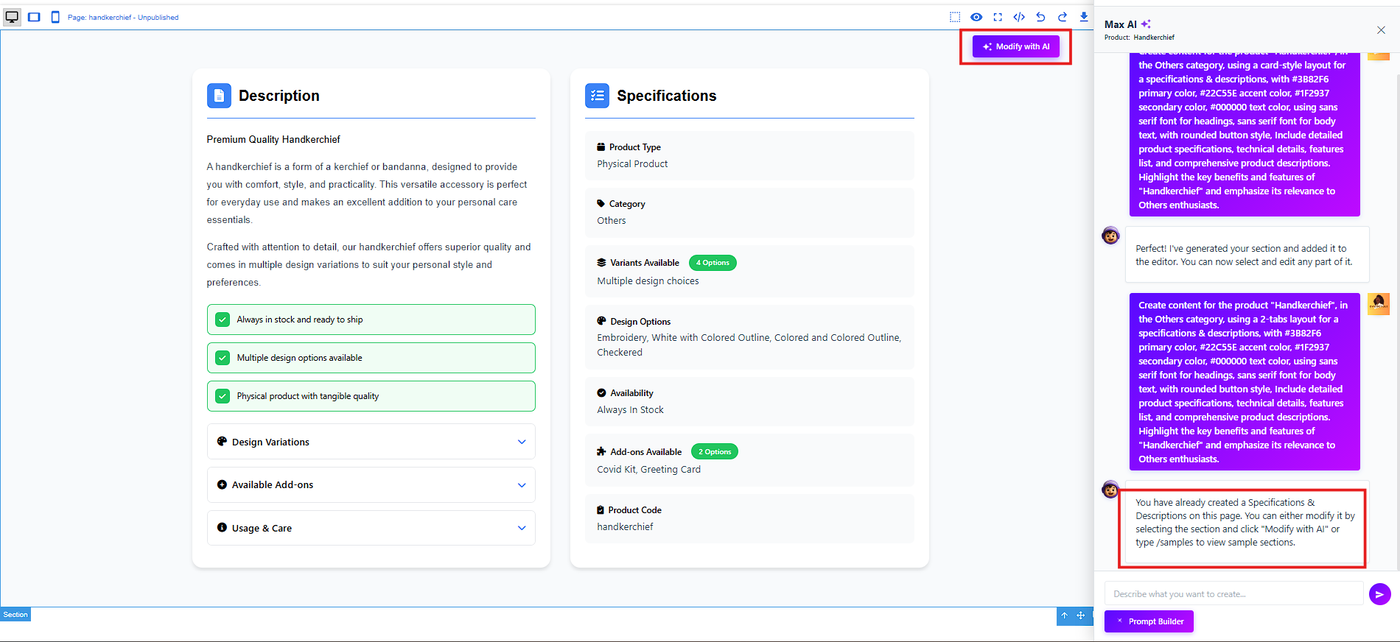
Describe your modification
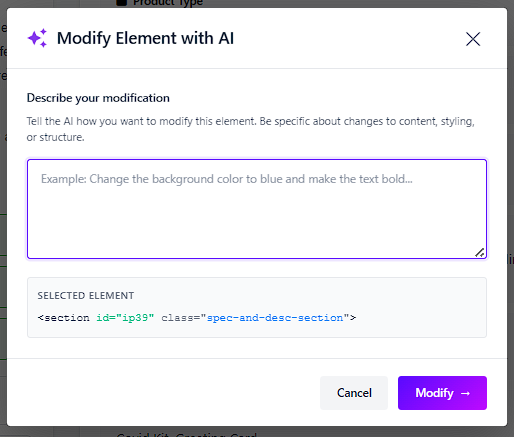
Click Modify button and see the changes.
2. To customize all contents and elements on your pages, follow the Page Builder. With its intuitive drag-and-drop interface, you can easily design and personalize your pages to match your brand.
6. Click Save Draft and Publish.

RESULT: You have successfully created your AI-Powered Product Landing Page Builder.
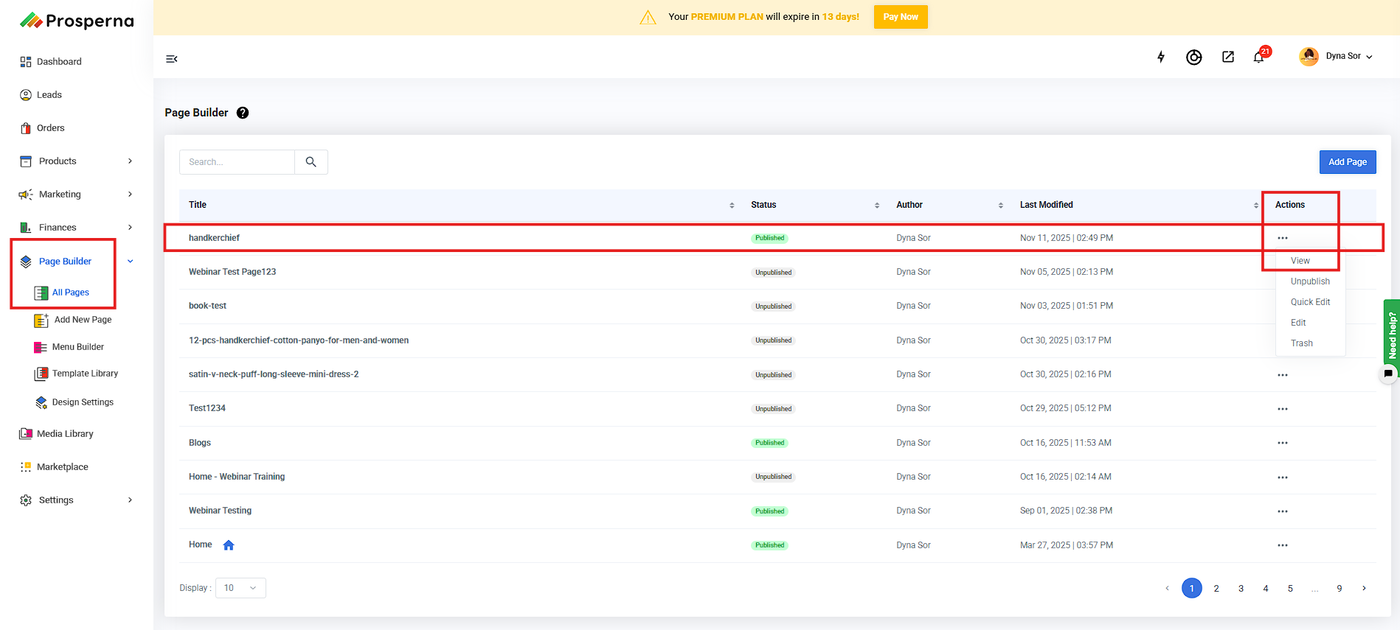
Check the created AI-powered product landing page in Page Builder > All Pages. The page title will match the product title, and click View under Actions to open it.
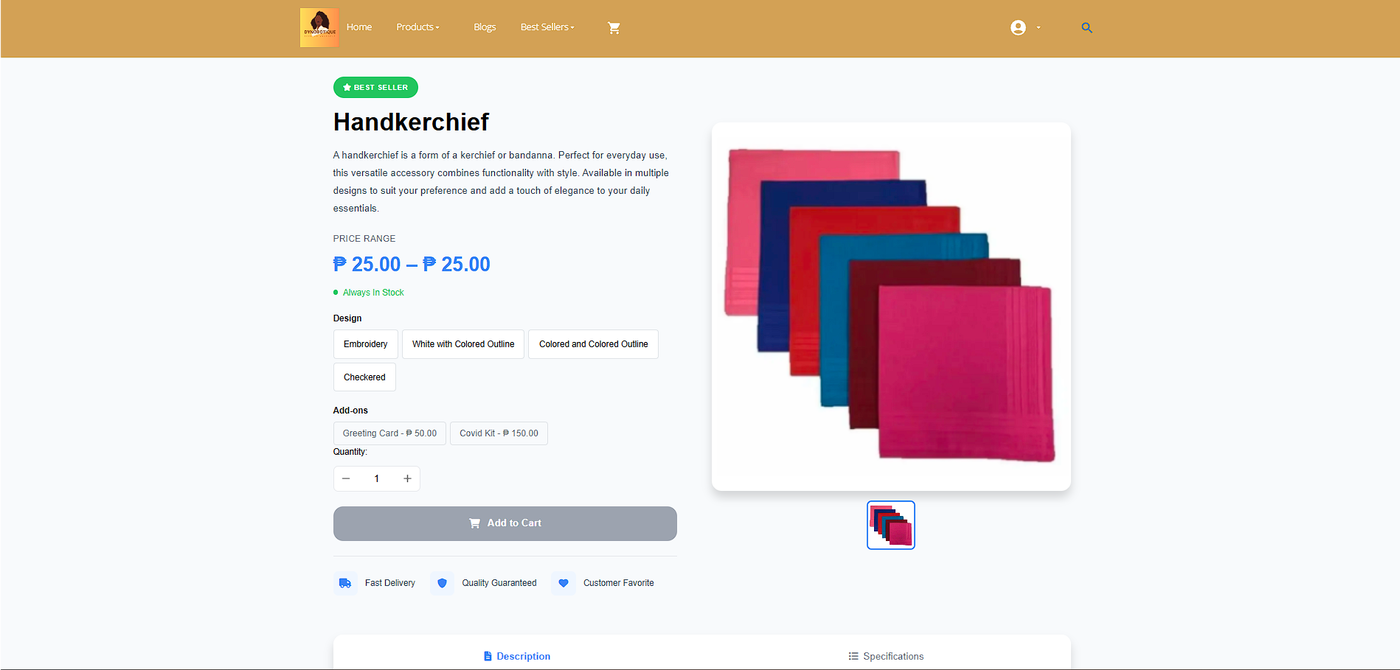
You may also set the created page as your homepage or customize it by adding various elements and designs to make it your homepage.
Need more help?
For more information and assistance, please send an email to support@prosperna.com.