Feature Availability: ALL PLANS
The Meta Pixel is a piece of code that you put on your website that allows you to measure the effectiveness of your advertising by understanding the actions people take on your website.
Why is it important? Find new customers, or people who have visited a specific page or taken a desired action on your website. Set up automatic bidding to reach people who are more likely to take an action you care about, like making a purchase. Better understand the impact of your ads by measuring what happens when people see them.
Skill Level: Beginner | Advanced | Expert
How long does it take to do? 15 minutes
Note: The following information has been taken from the Meta Business Help Center
If you already set up your Meta Pixel using IMG tags or plan to do so, we recommend that you follow the developer documentation. Learn more.
Requirements:
1.Prosperna account
2.Facebook account
3.Planned activity to track in Pixel
Summary
1.Go to your Facebook account
2.Select your business page
3.On the left side, under More tools, select Meta Business Suite
4.On the left side, select All tools
5.Under Advertise, select Events Manager
6.Click Connect data
7.Select Web then click connect
8.Name your Pixel
9.Enter your Website URL
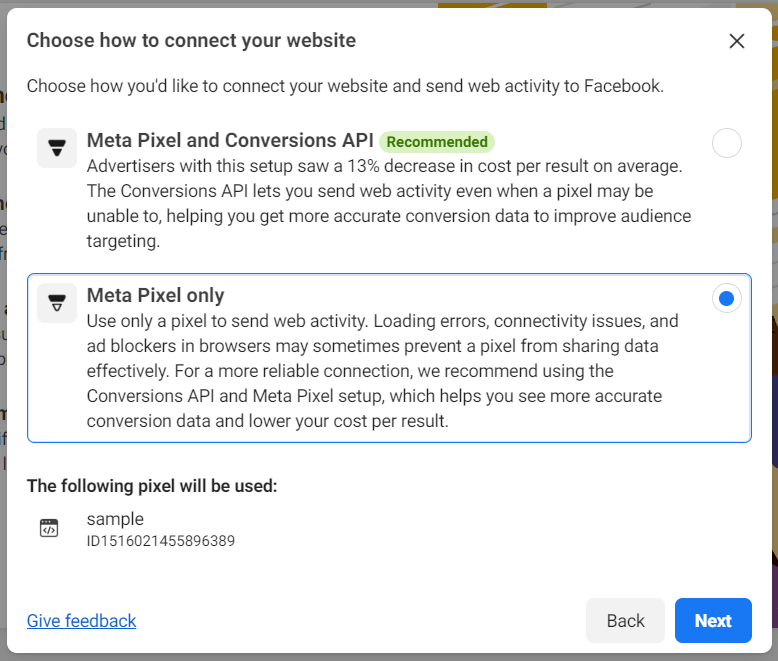
10.Choose Meta Pixel only
11.On the left side, go to Data Sources
12.Select Settings and copy your Pixel ID
13.Log in to your Prosperna account
14.Go to Settings, then Store
15.Select Facebook Pixel, then paste your Facebook Pixel ID
Steps How to Setup Facebook (Meta) Pixel
1.Go to your Facebook account

2.Select your business page

3.On the left side, under More tools, select Meta Business Suite

4.On the left side, select All tools

5.Under Advertise, select Events Manager

6.Click Connect data

7.Select Web then click connect

8.Name your Pixel
Name your Pixel, then click Create Pixel

9.Enter your Website URL
Enter your Website URL / Prosperna domain, then click Check, then click Next

10.Choose Meta Pixel only
Choose Meta Pixel only, then click Next
11.On the left side, go to Data Sources

12.Select Settings and copy your Pixel ID

13. Log In to your Prosperna account. Go to Settings, then Store.

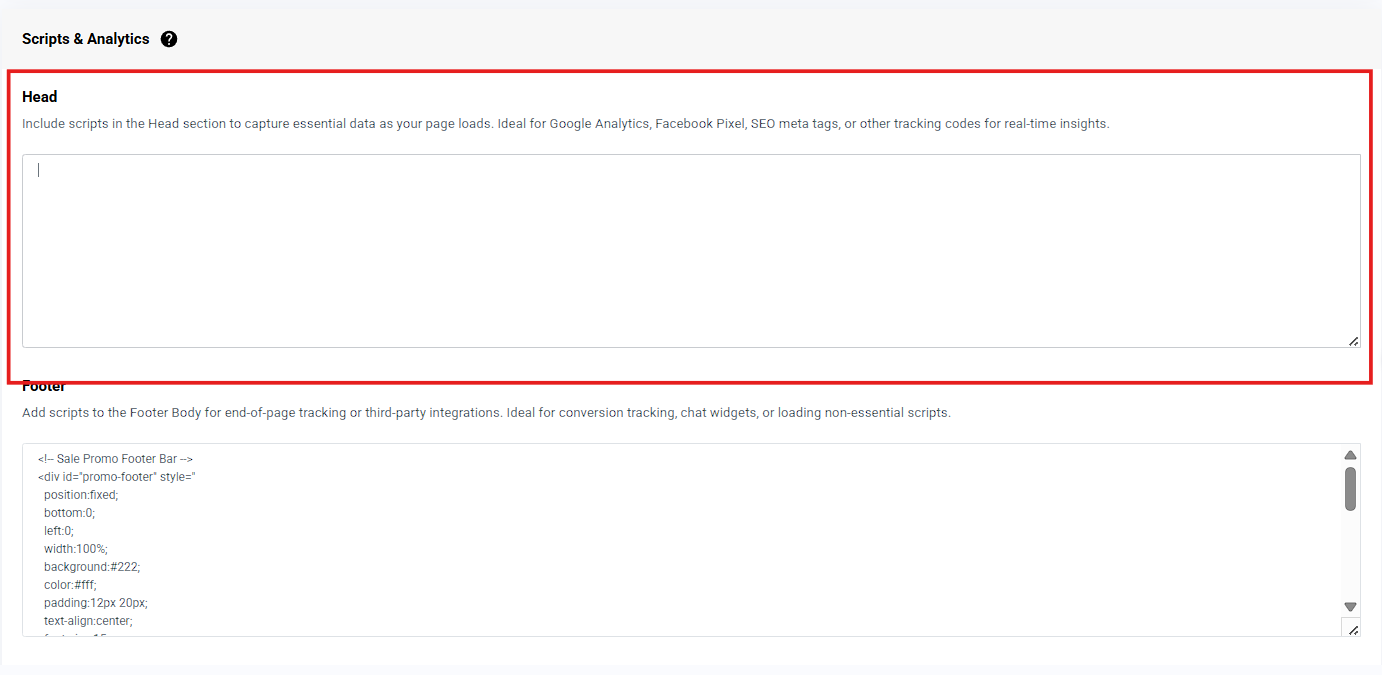
14. Click Scripts and Analytics.

15. Input the Scripts.
Steps to Check Pixel Setup Success (Optional)
Download the Facebook Pixel Helper extension on a Chrome browser

Click on Facebook Pixel Helper to see if the ID you pasted reflects
Note: You must be on your products page before checking Facebook Pixel Helper.

Result: The Pixel ID should match the one you made.

Set up events
After you add the Meta Pixel base code to your website you can set up events to measure the actions you care about, like making a purchase. You can do this by manually installing the code or by using the point-and-click Event Setup Tool. Then, make sure that your Meta Pixel is working correctly.
You can use one Pixel across your whole website, including multiple pages of your website.
If you use the Meta Pixel to share events with Meta, we recommend that you also use the Conversions API. The Conversions API works with your Meta Pixel to help improve the performance and measurement of your Meta ad campaigns. Learn more about the Conversions API.
Note: Apple’s iOS 14 changes require apps in the App Store that engage in what Apple defines as “tracking” to show a prompt to iOS 14.5 and later users in accordance with their AppTrackingTransparency framework. These changes impact how Meta receives and processes events from tools like the Meta Pixel. If you optimize, target or report on web events from Meta Pixel or any of our other business tools, you can take steps to update your event setup and manage these changes. Learn more.
Reference from: https://www.facebook.com/business/help/952192354843755?id=1205376682832142
Need more help?
For more information and assistance, please send an email to support@prosperna.com.