Enable your customers to easily find the nearest activated store. When they turn on location services, they can share their current location, allowing the system to instantly direct them to the closest store. This feature improves convenience and accessibility for your customers when browsing your store.
Why is it important?
Setting your store’s geolocation ensures accurate delivery routing, improves customer trust, and enhances location-based features like estimated delivery times and service availability.
Requirements:
Purchased plan for Store Locator: Geolocation via Marketplace.
Summary:
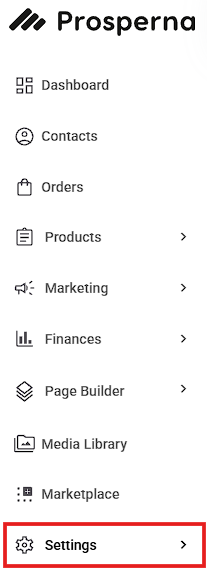
Go to Settings.
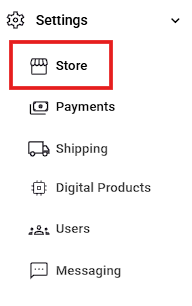
Click Store.
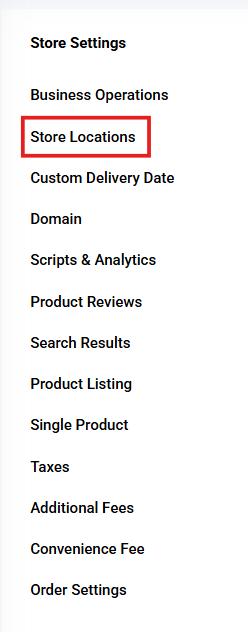
Go to Store Locations.
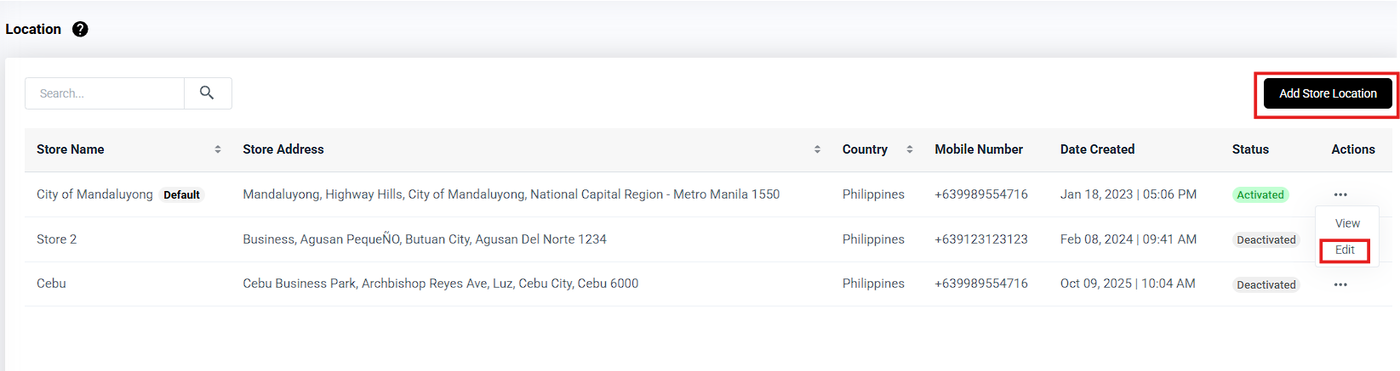
You can edit or add a store location to set the geolocation for the specific store you want to configure.
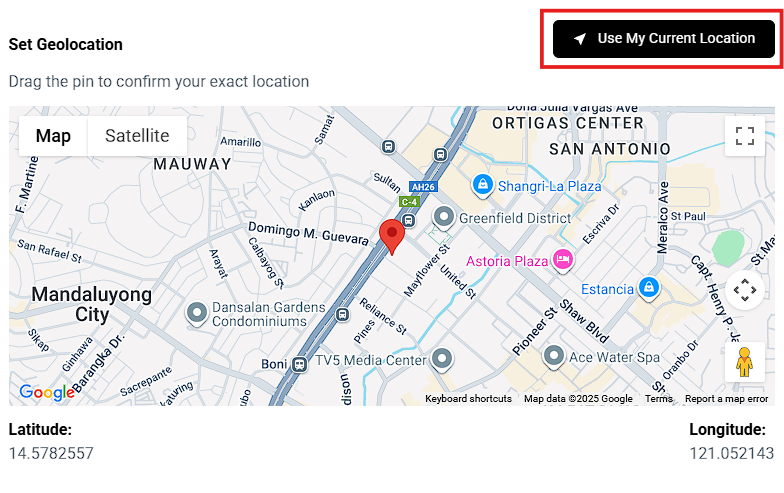
Set Geolocation
Click the 'Update' (Save) button.
Steps on How to Set Geolocation
1. Go to Settings.
2. Click Store.
3. Go to Store Locations.
4. You can edit or add a store location to set the geolocation for the specific store you want to configure.
6. Set Geolocation
Drag the pin to confirm your exact location or click 'Use My Current Location'.
7. Click the 'Update' (Save) button.
Update - if the action is 'Edit'.
Save - if the action is 'Add Store Location'.
Result: You have successfully configured the Geolocation feature for your store!
Your website visitors will now see a location permission prompt (e.g., "yodaddyscafe.prosperna.com wants to know your location").

Need more help?
For more information and assistance, please send an email to support@prosperna.com.