Feature Availability: ALL PLANS
Google indexing is the process by which Google adds websites to its search index, allowing them to appear in search results. This occurs when Google's web crawlers, also known as spiders, automatically scan and index website content across the internet. Only indexed sites can show up in Google search results.
Why is it important? It allows your website to appear in Google search results. This visibility can drive traffic to your site, increase your audience, and improve your online presence. Without indexing, your site remains invisible to search engine users.
Summary:
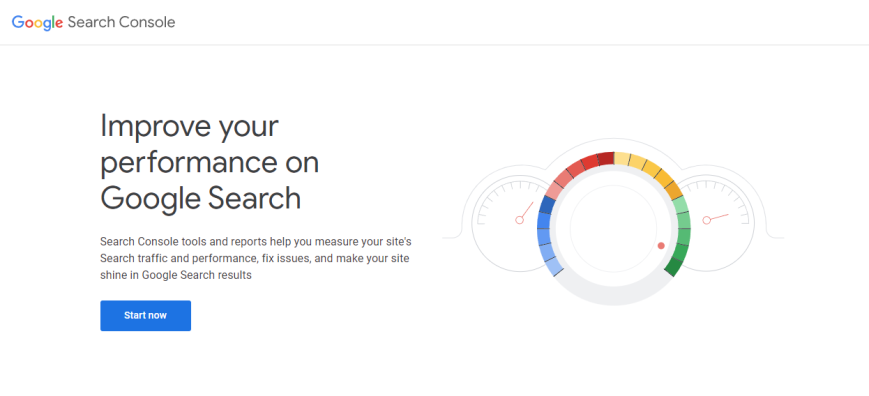
- Go to Google Search Console and click "Start Now."
- Click the dropdown in the upper left and select "Add Property."
- Choose "URL Prefix," enter your domain, and click "Continue."
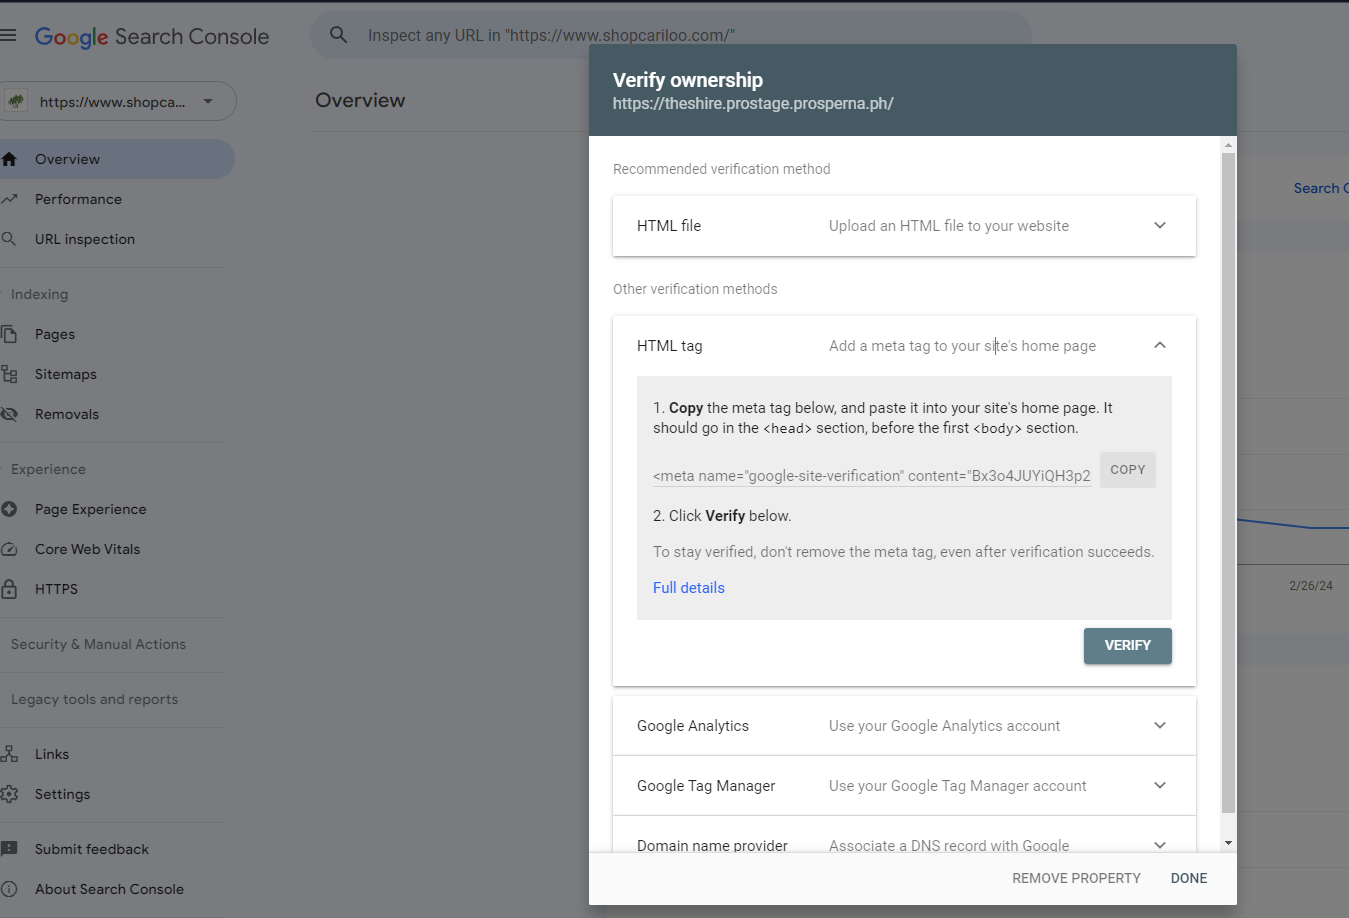
- Copy the Meta tag from the HTML tag option.
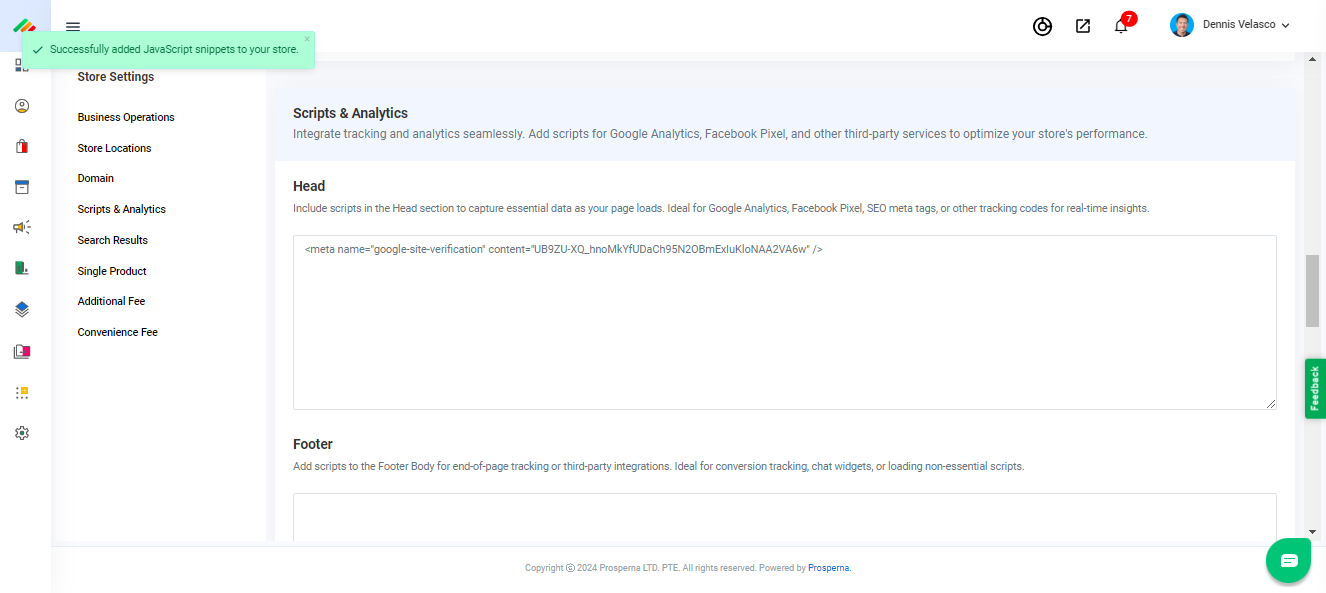
- In a new tab, go to Store Settings > Scripts & Analytics in your dashboard.
- Paste the Meta tag into the head text box and save.
- Return to Search Console and click "Verify" under the HTML tag option.
- Verification completes; click "Go to Property."
Indexing: Indexing starts automatically and may take 2-3 days to several weeks.
Add a Sitemap:
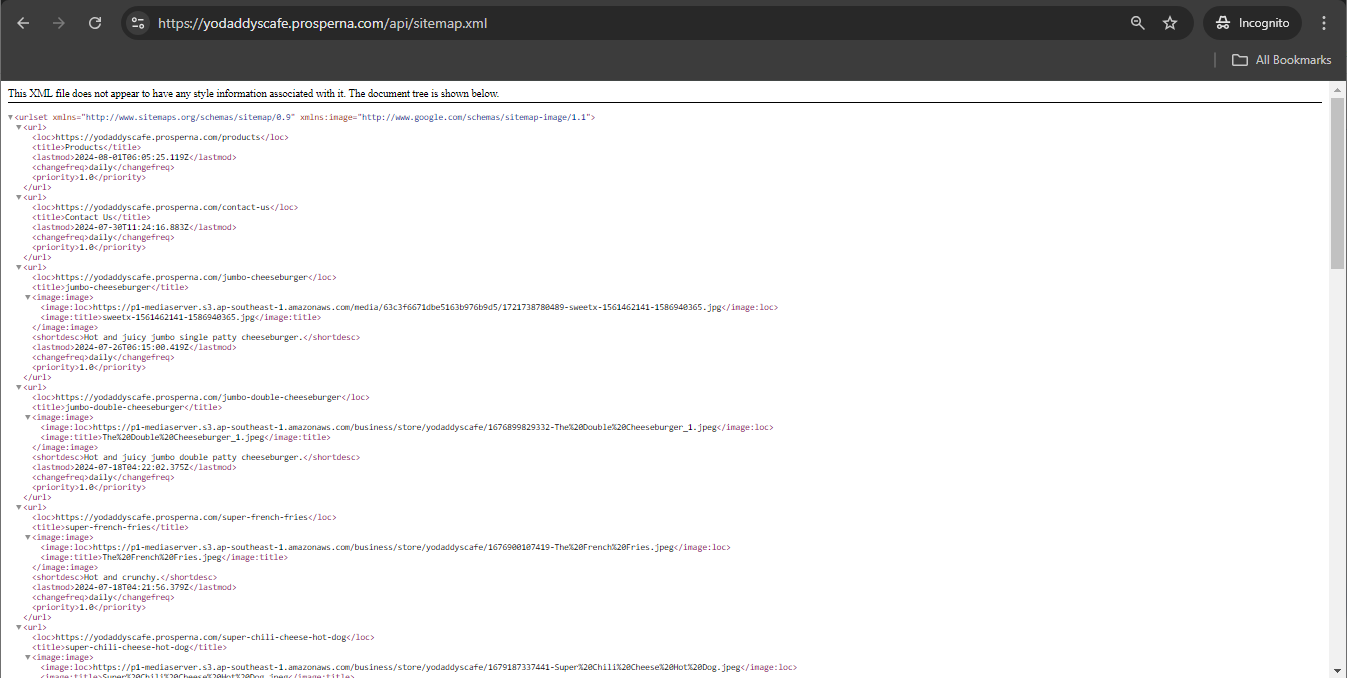
- Access your sitemap at
yourdomain.com/api/sitemap.xml. - In Google Search Console, go to "Sitemaps" under "Indexing."
- Add
sitemap.xml, click "Submit," and check if Google fetched the sitemap.
Steps on How to Setup Google Index
1. Go to Google Search Console and click start now
https://search.google.com/search-console/about
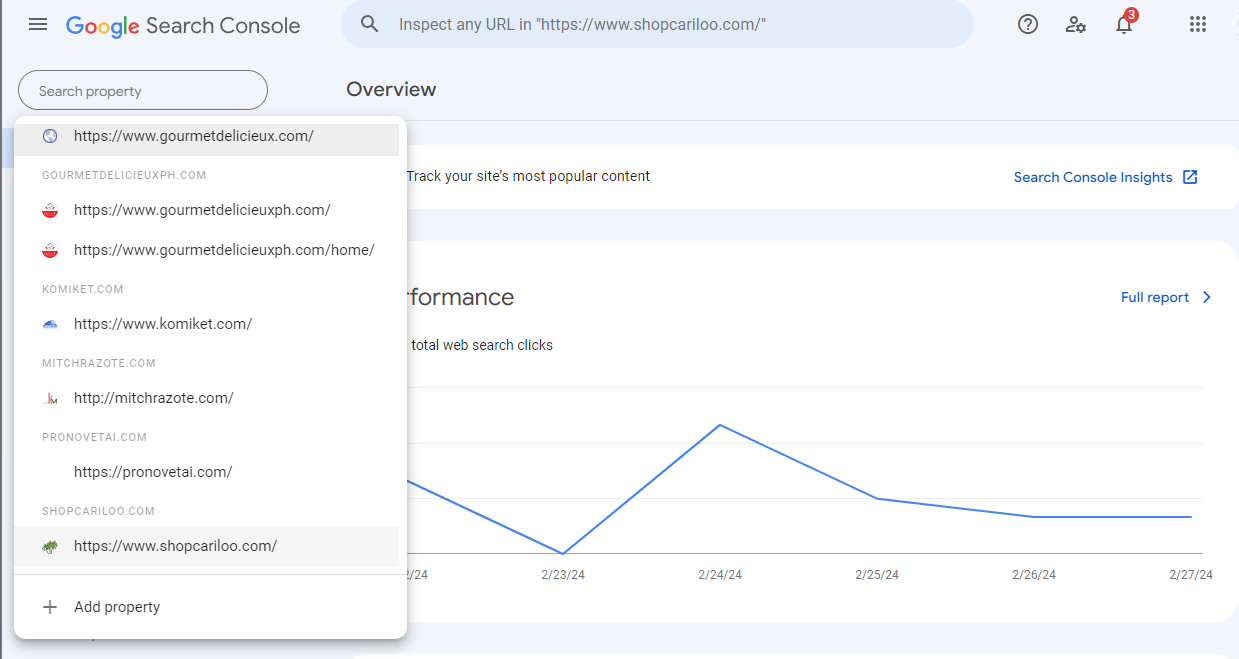
2. On the upper left corner click the drop down and click add property (website domain).
3. A new modal will open prompting to select property type. Select the URL Prefix, paste the complete domain and click
continue.
*We chose this as this offers multiple verification method (e.g pasting a verification tag in head).
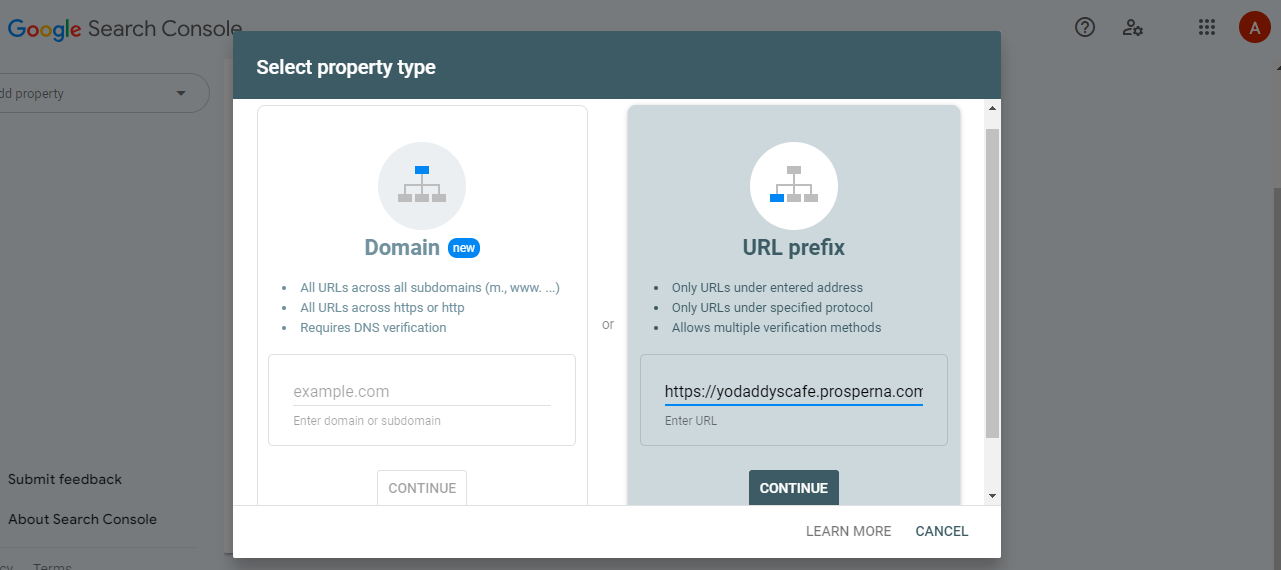
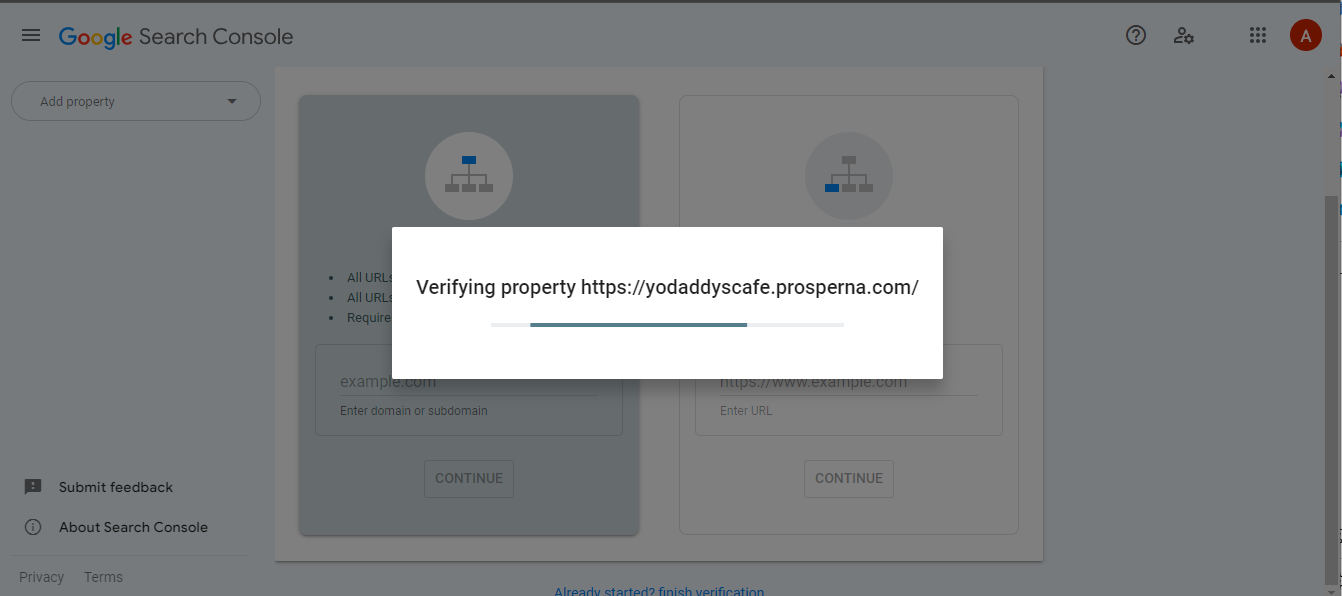
4. Wait for the loading to end and show the next steps in verifying ownership.
5. Click and collapse HTML tag option and copy the Meta tag given then open a new tab on the browser.
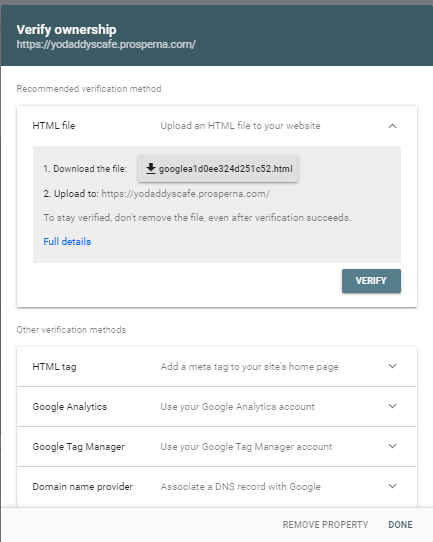
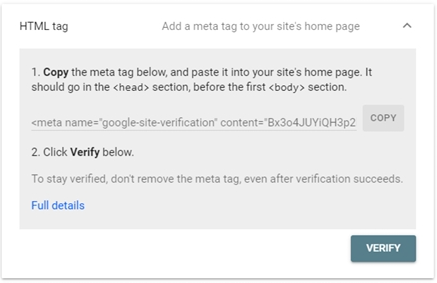
6. On the new tab, open your dashboard and navigate to store settings then navigate to Scripts & Analytics.
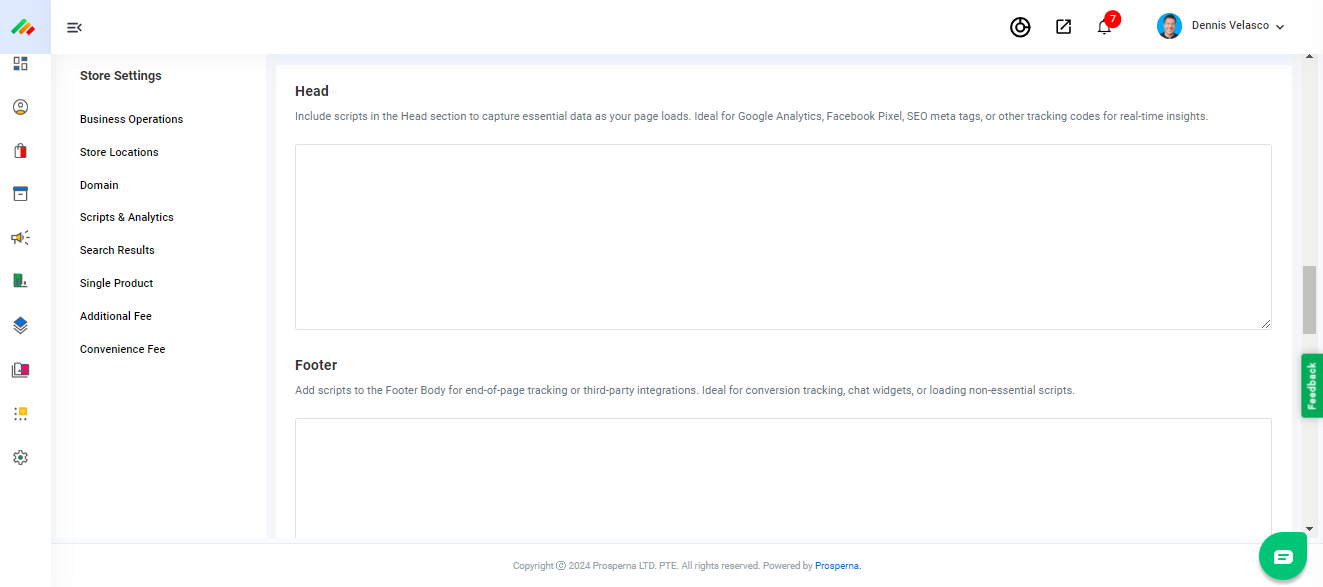
7. Paste the Meta tag that you copied into the head text box and click save. A Green notification will show that the Meta tag pasted was saved.
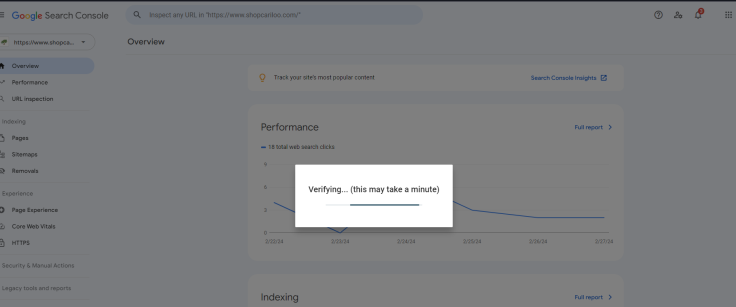
8. Navigate back to the search console tab where the Verify Ownership modal is located. Click VERIFY under the HTML tag option.
9. Wait for verification to end and a success window will show then click go to property. If not please repeat the steps.
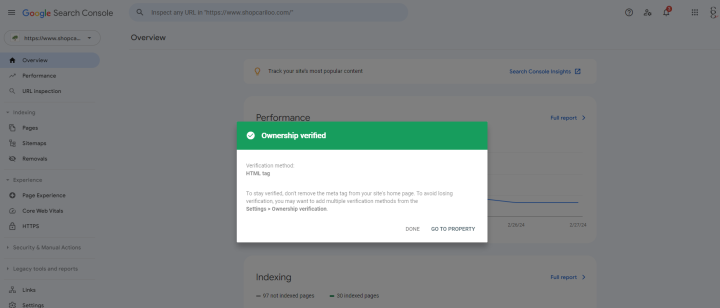
Note: verified properties will show in the upper left corner dropdown (step 2 image).
10. Indexing automatically starts and may finish within a minimum of 2-3 days to several weeks.
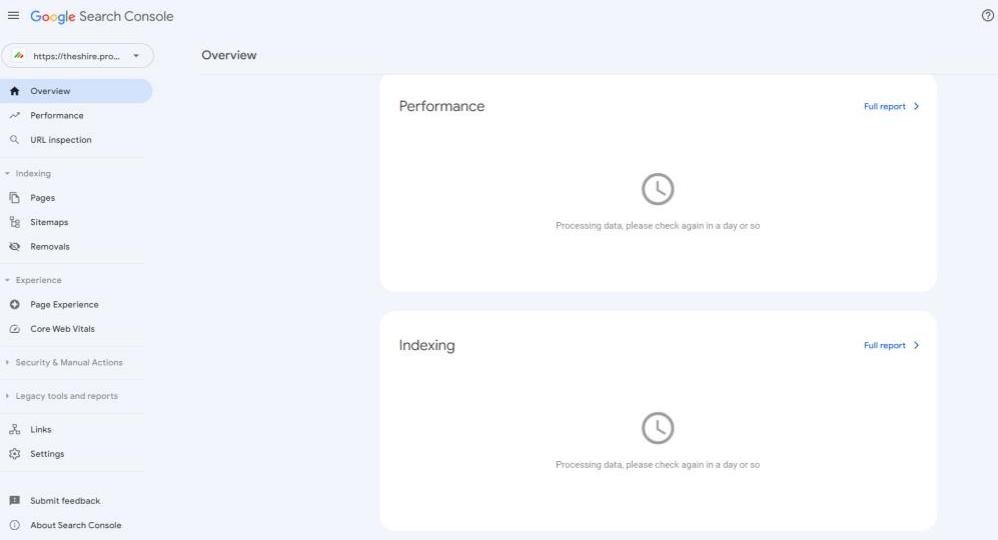
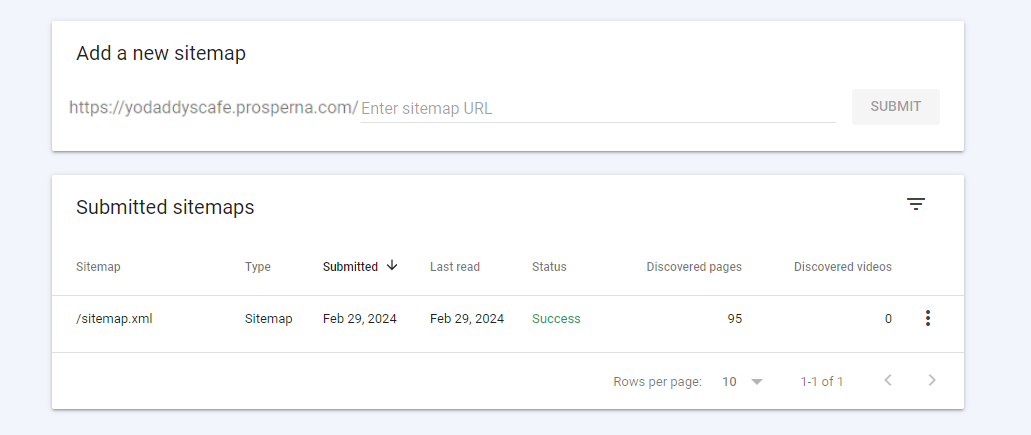
11. For better page indexing quality, we can add a site map. Each propsperna site has a sitemap.xml accessible by adding /api/sitemap.xml at the end of your domain eg. (domain.com/api/sitemap.xml).
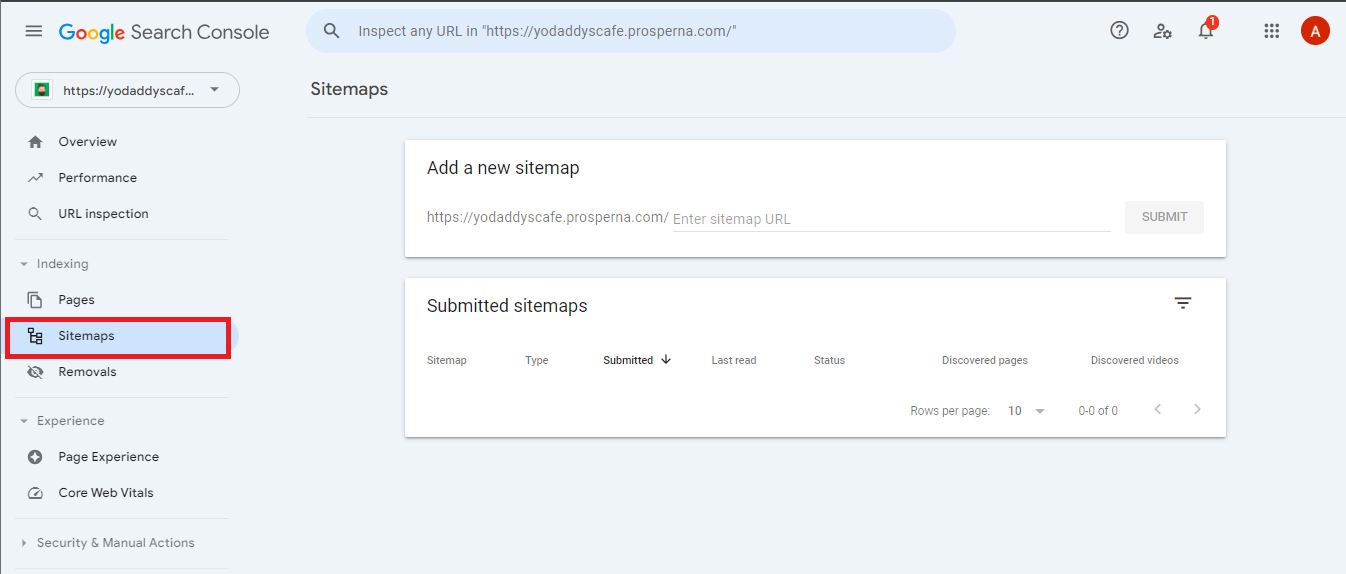
12. Navigate back to your property in Google Search Console dashboard and look for sitemaps under indexing in the left navigation bar.
13. Add sitemap.xml into the textbox and click submit and wait for success prompt then click dismiss and check if google fetched the site map.
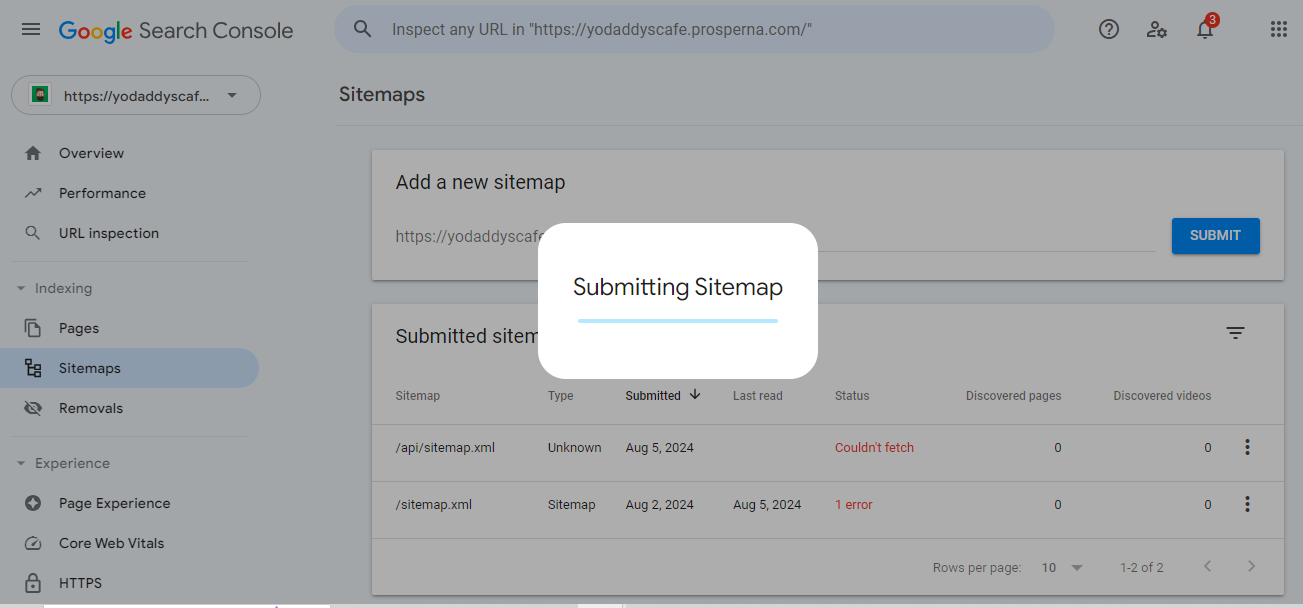
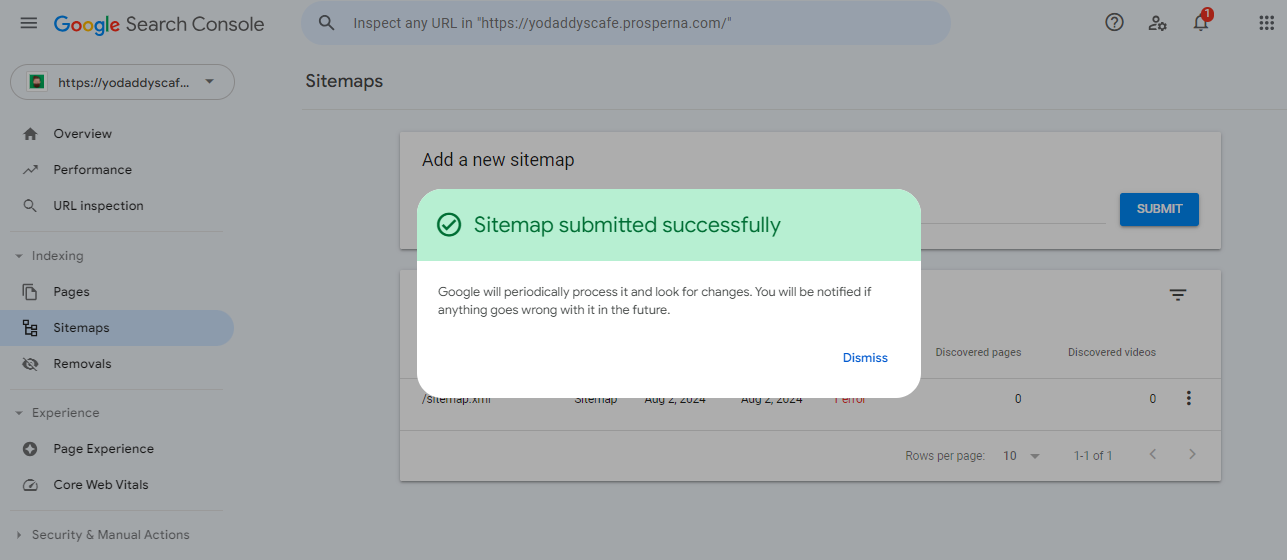
If it says “Couldn’t fetch” then repeat the process off inputting sitemap.xml into the textbox then resubmit.

Need more help?
For more information and assistance, please send an email to [email protected] or click here.
0 of 0 found this article helpful.
